Amlbot KYC (Know Your Customer) Verification
Custom Features(on-demand only)
Note: This feature only work from Pay Money v4.3.2 or greater than v4.3.2
KYC verification is a key feature of the PayMoney Web Application and is included in the PayMoney bundle. Currently, this feature operates as a manual process. For those looking to enhance it with automation, an on-demand Amlbot KYC Verification module is available to achieve this functionality. This documentation provides an overview of all Amlbot KYC verification related features for both admins and users.
For details on how the core verification feature works, please refer to our available documentation at the following link. KYC Verification
Admin Panel
1. Verification Providers: Once this module is successfully installed, the admin will see the new verification provider added to the provider list.
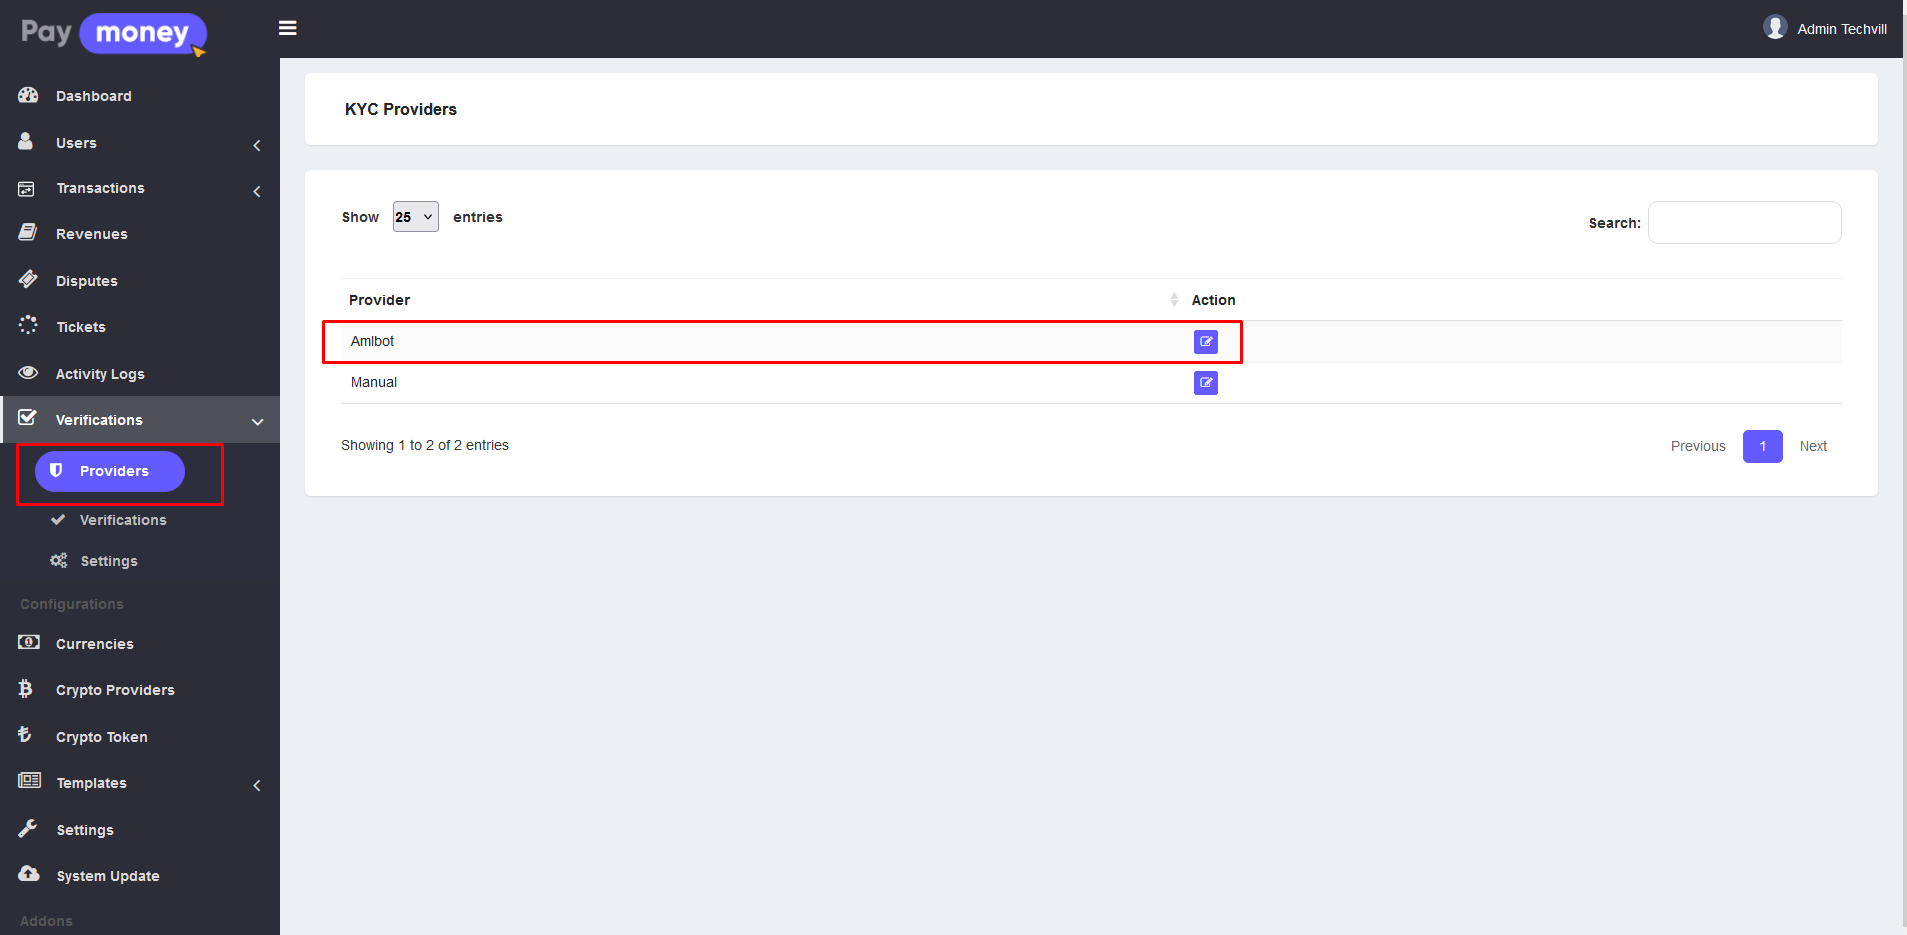
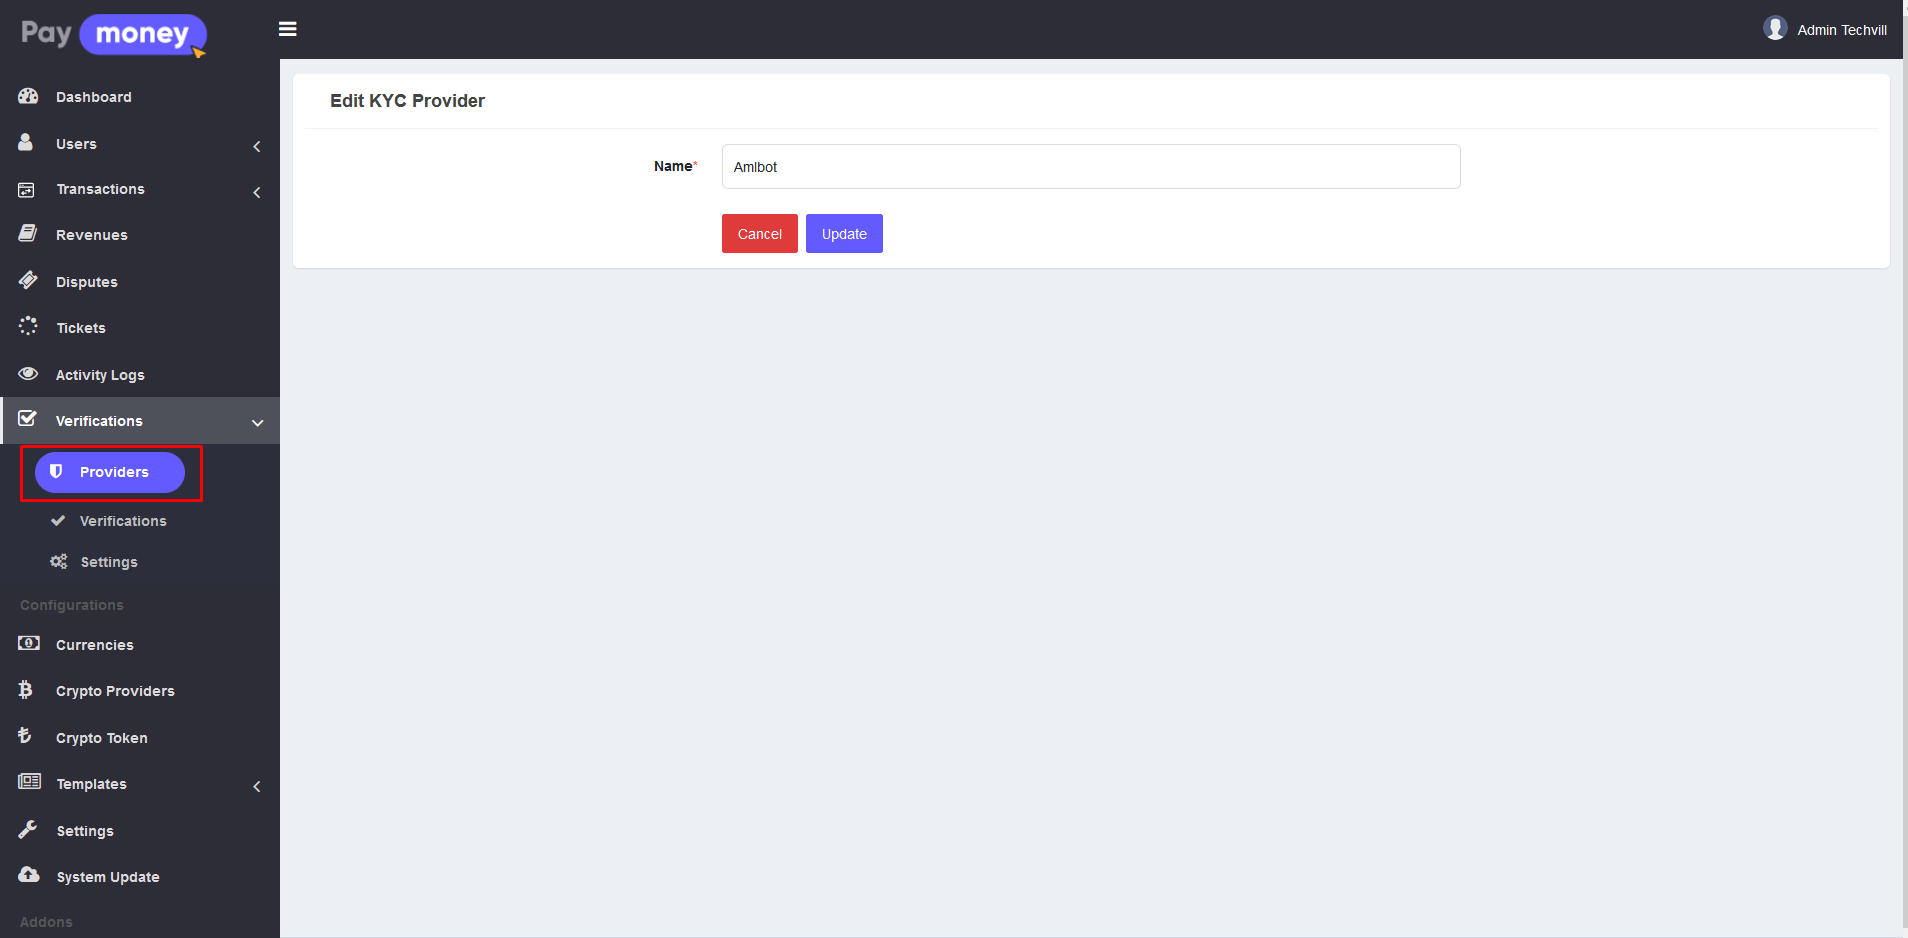
The admin can modify the provider name by clicking the edit button on the provider list page. This action redirects the admin to the edit page, where they can update the name to their preferred choice.
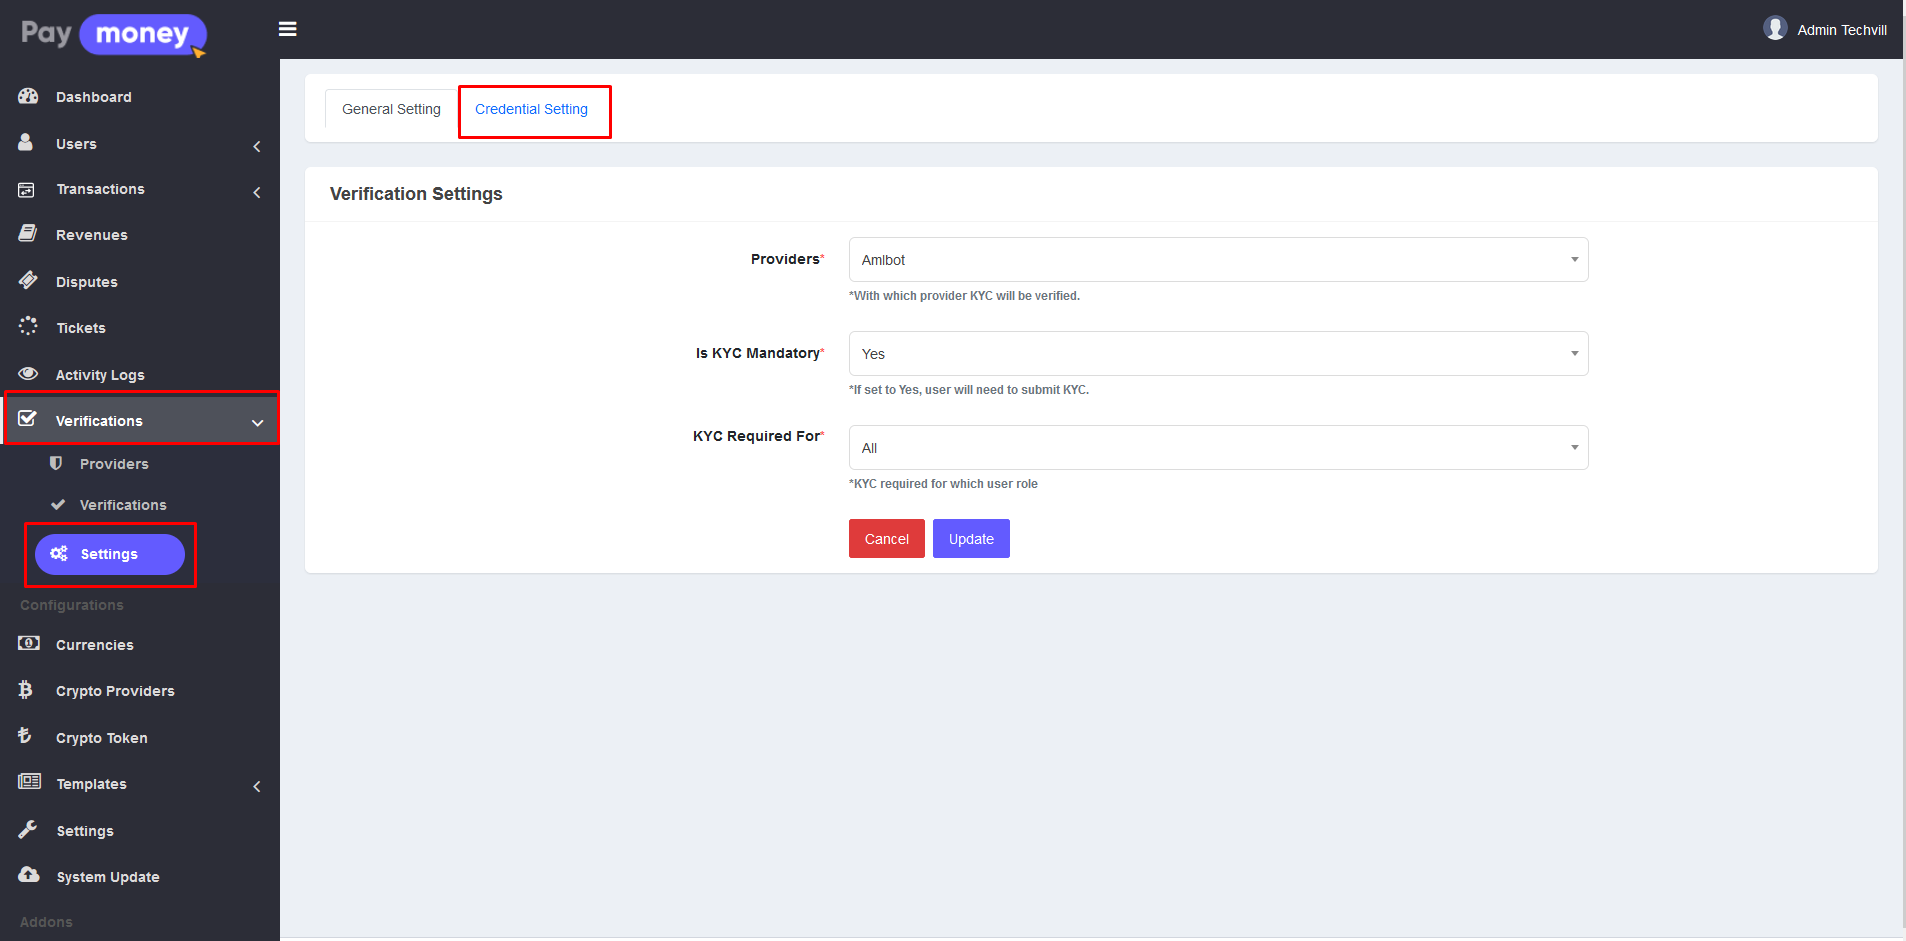
2. Verification Settings: Before installing the Amlbot KYC verification module, only the manual provider was available for KYC verification. With the module installed, the system admin can now enable Amlbot as the verification provider. To switch to Amlbot, navigate to Verification > Settings, where the current active verification provider is displayed. Select Amlbot, submit the form, and Amlbot will be activated for KYC verification.

Note: Only one provider can be active for verification at a time, and users must complete their KYC verification through the active provider.
3. Credential Setting: Amlbot is an automated KYC verification provider. To enable its use, the admin needs to set the Amlbot credentials. When the admin sets amlbot as the KYC verification provider, there will be a Credential Setting tab next to the general setting tab.
Upon clicking on the tab the admin will be redirected to the Amlbot verification credential setting page.
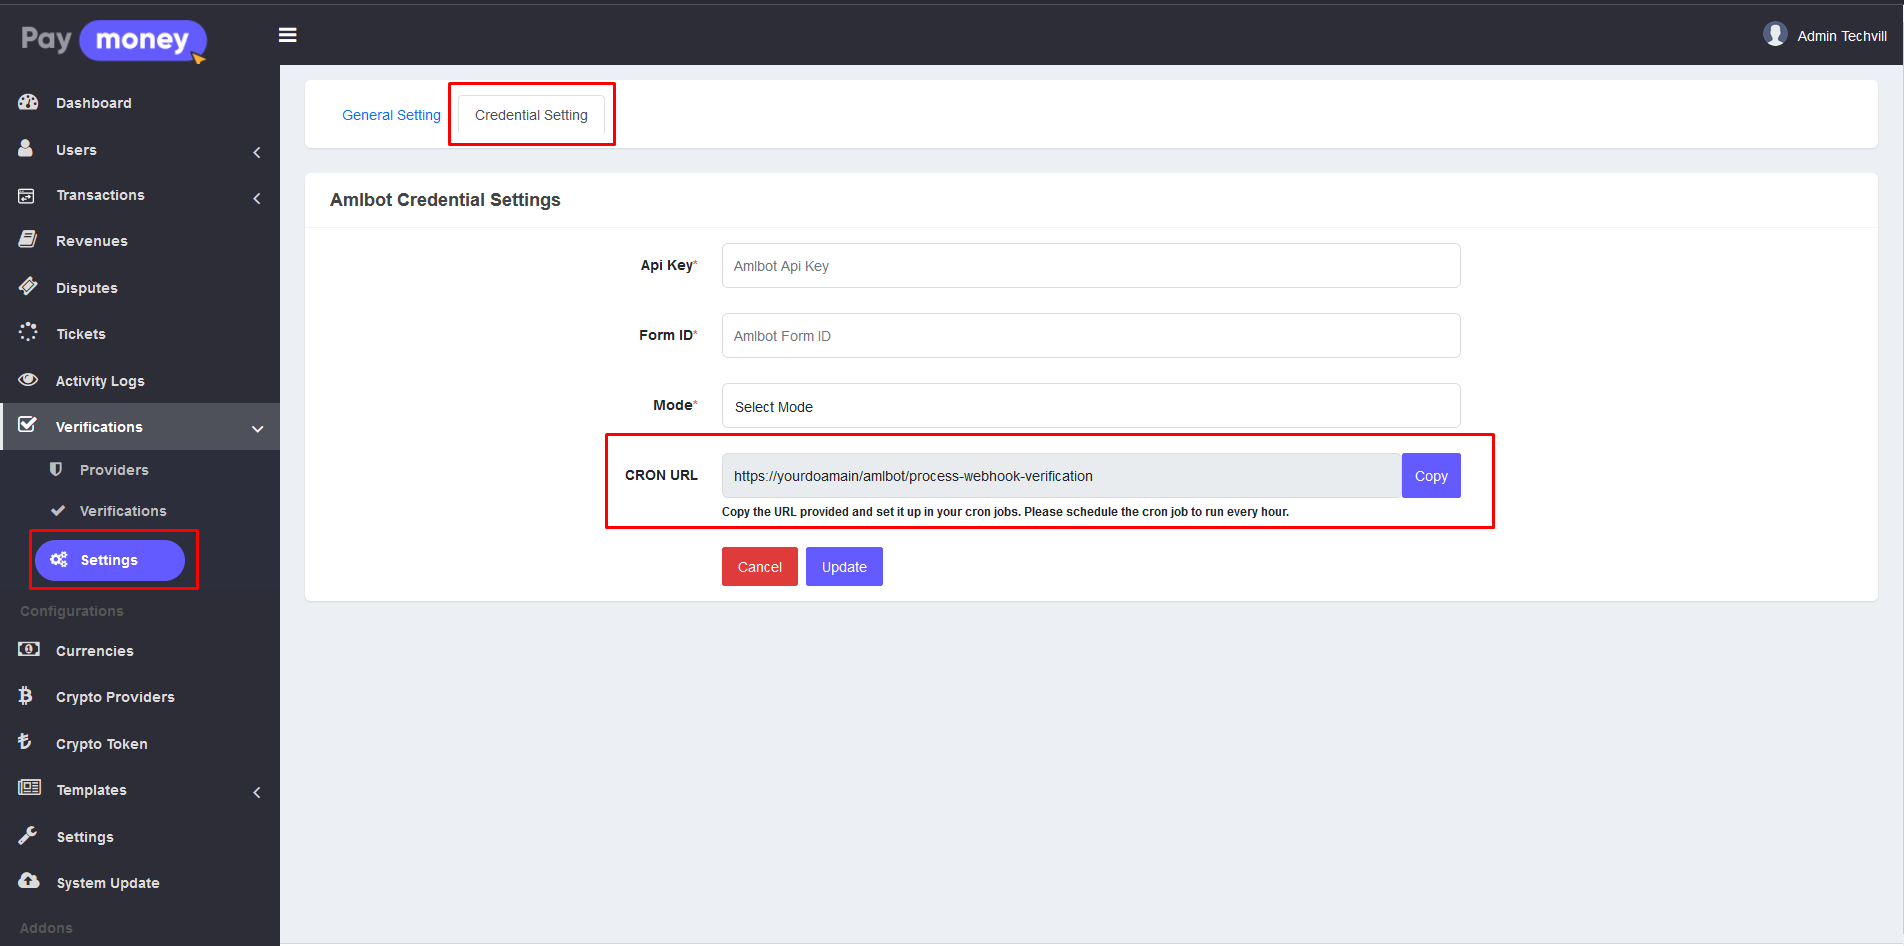
There are several ways to integrate Amlbot verification; we have implemented a form-driven approach. You will need to provide the required credential details to enable Amlbot verification.
-
API Key: The API key required for Amlbot verification, which will be provided by Amlbot. Refer to AMLbot documentation.
-
Form ID: The Form ID required for Amlbot verification, which will also be provided by Amlbot. Refer to the AMLbot documentation.
-
Mode: The verification mode or credentials, which can be set to either Sandbox or Live.
-
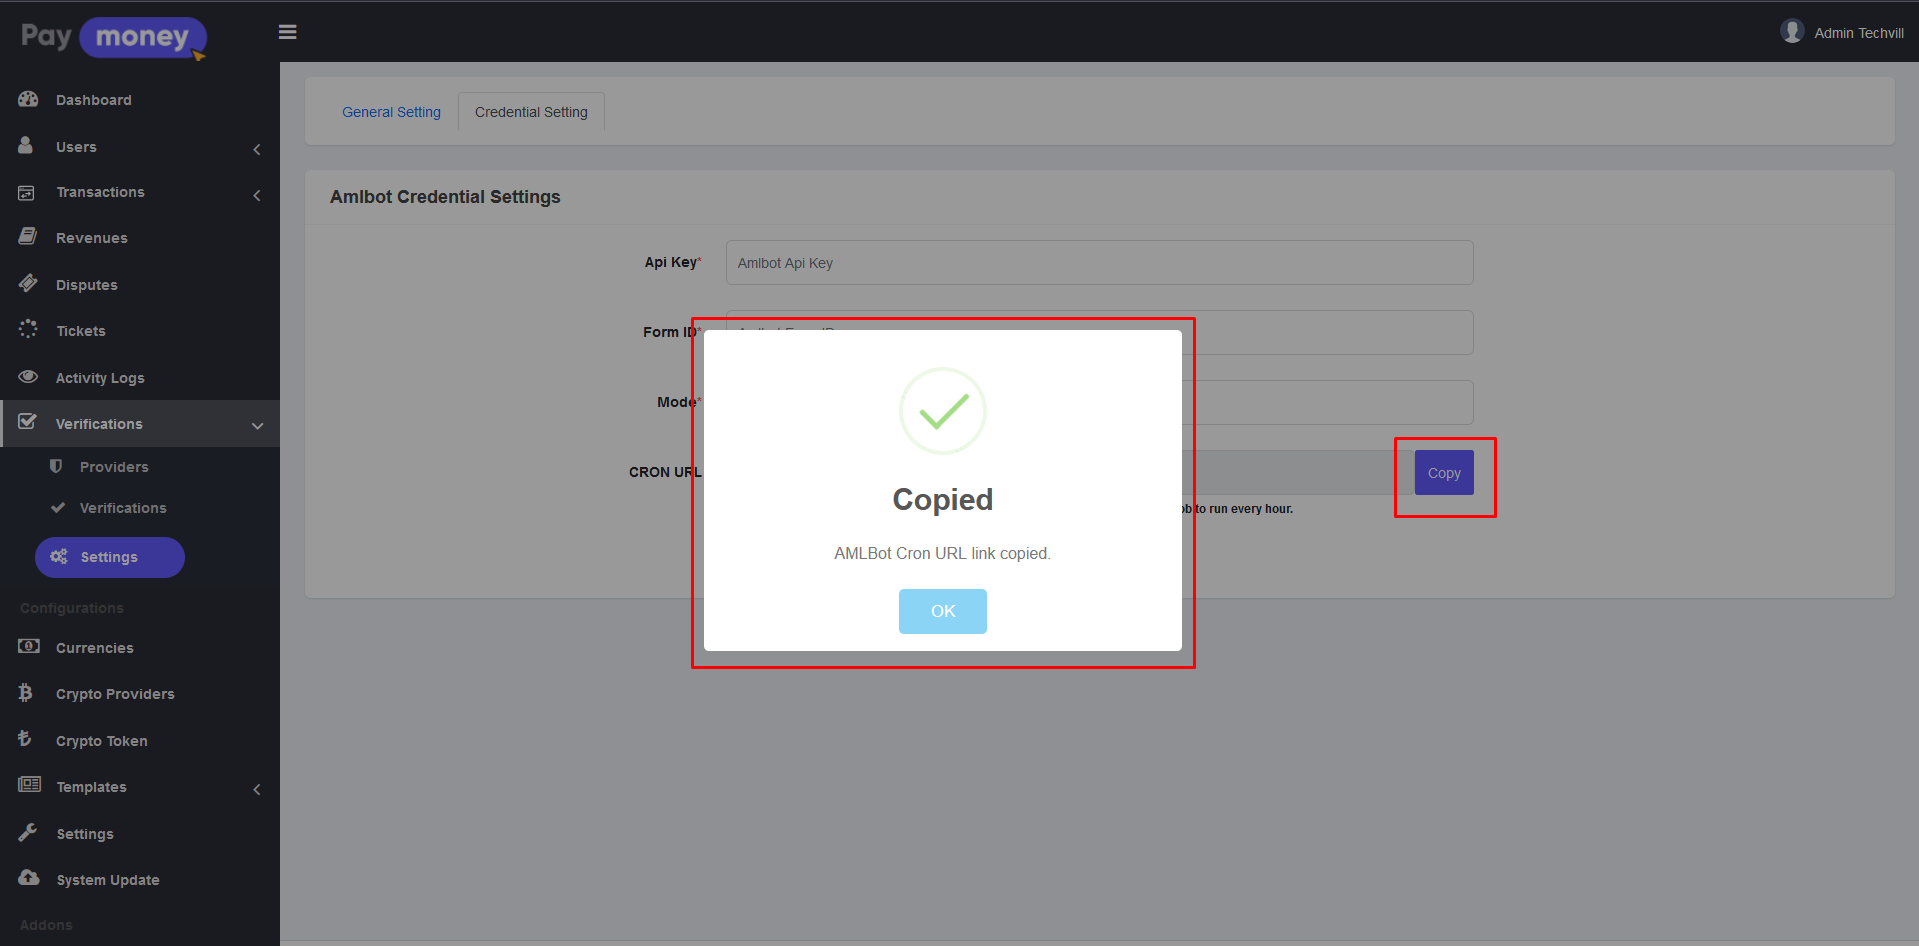
CRON URL: The admin must set up a CRON job to monitor the user's verification status. To do this, they need to configure the CRON job with the provided URL. The admin can easily copy the URL by clicking the Copy button.
4. Verifications List: This list shows all user verification records, regardless of their status or provider. The admin will also see the Amlbot verification records included in this list.
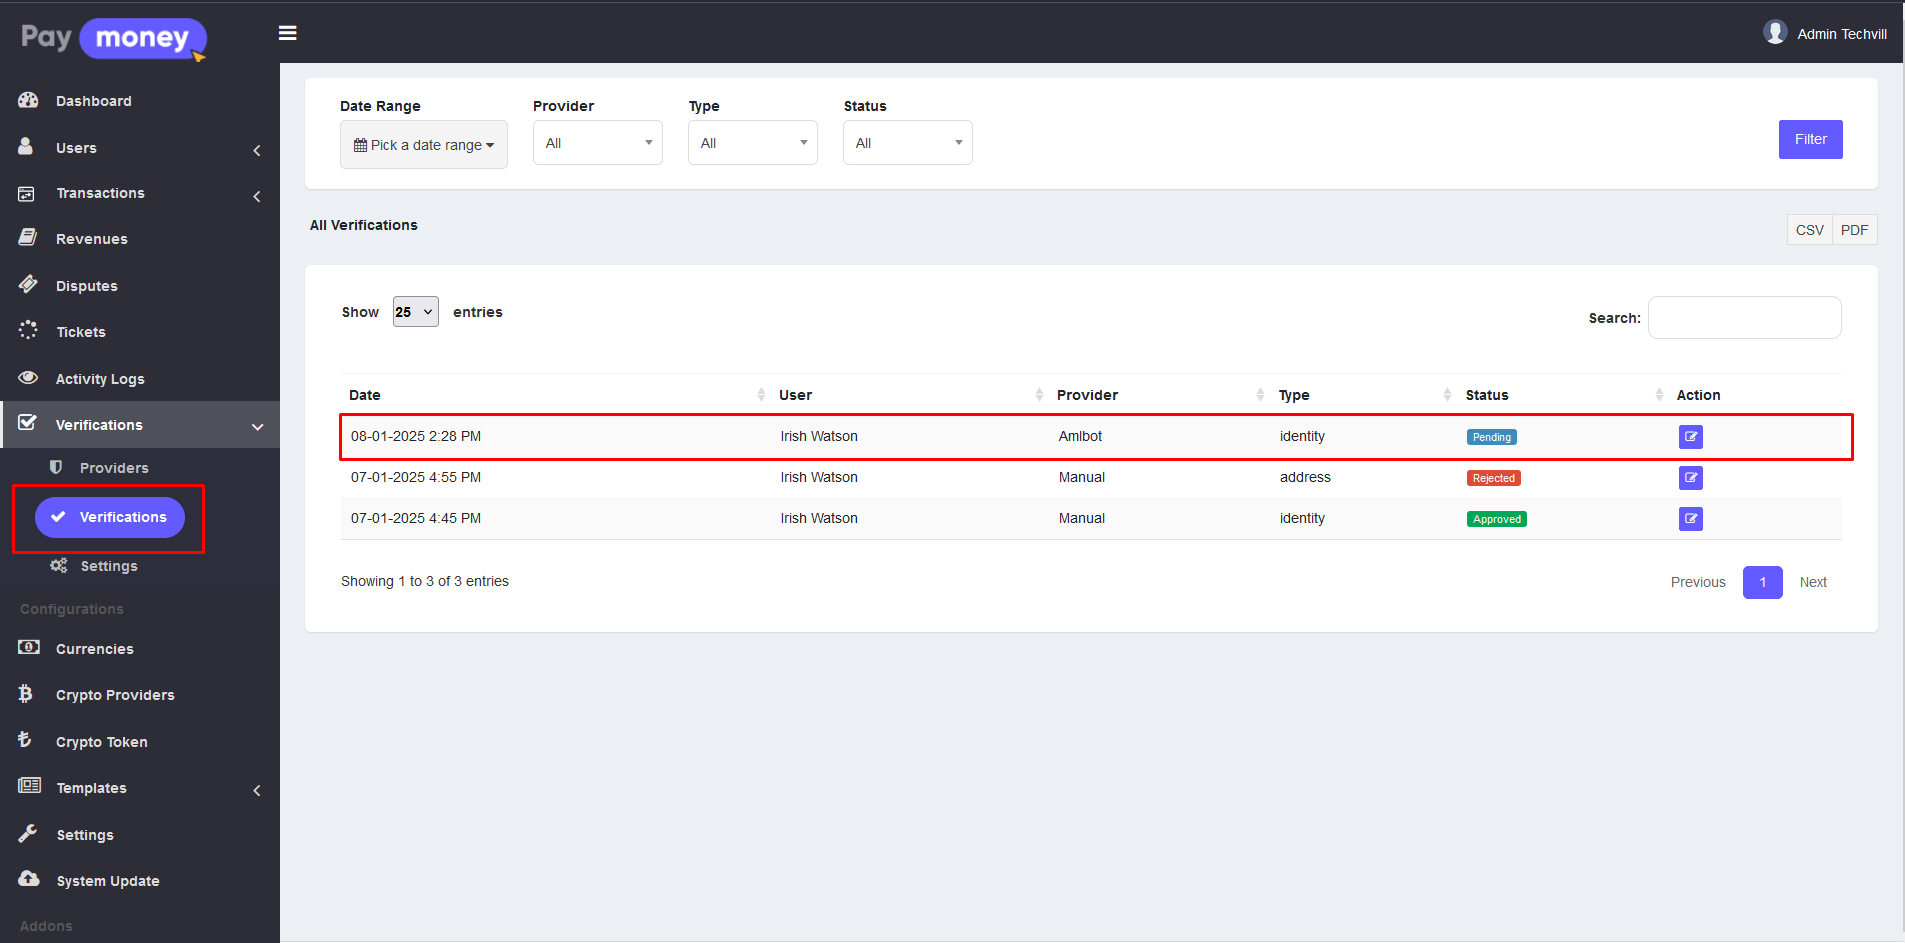
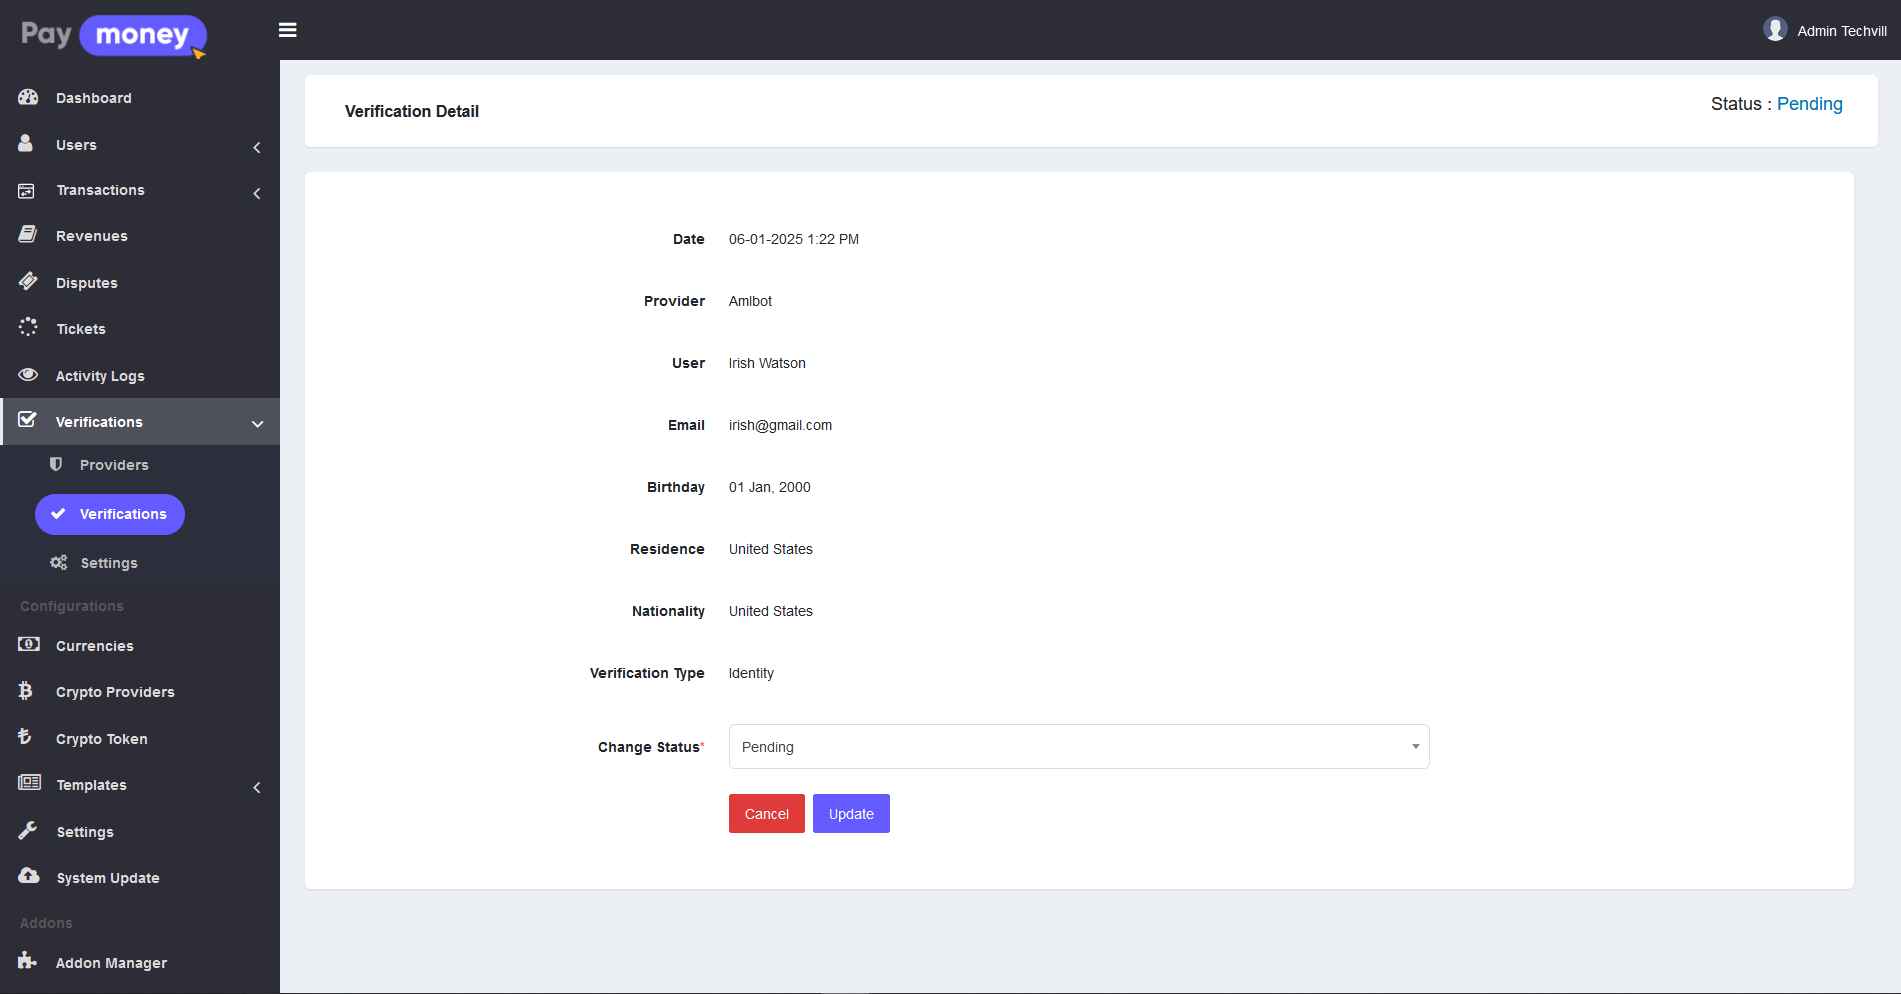
Admin can update the verification status from the verification edit feature. To update the verification status, please click on the edit button and the admin will be redirected to the verification edit page.
User Panel
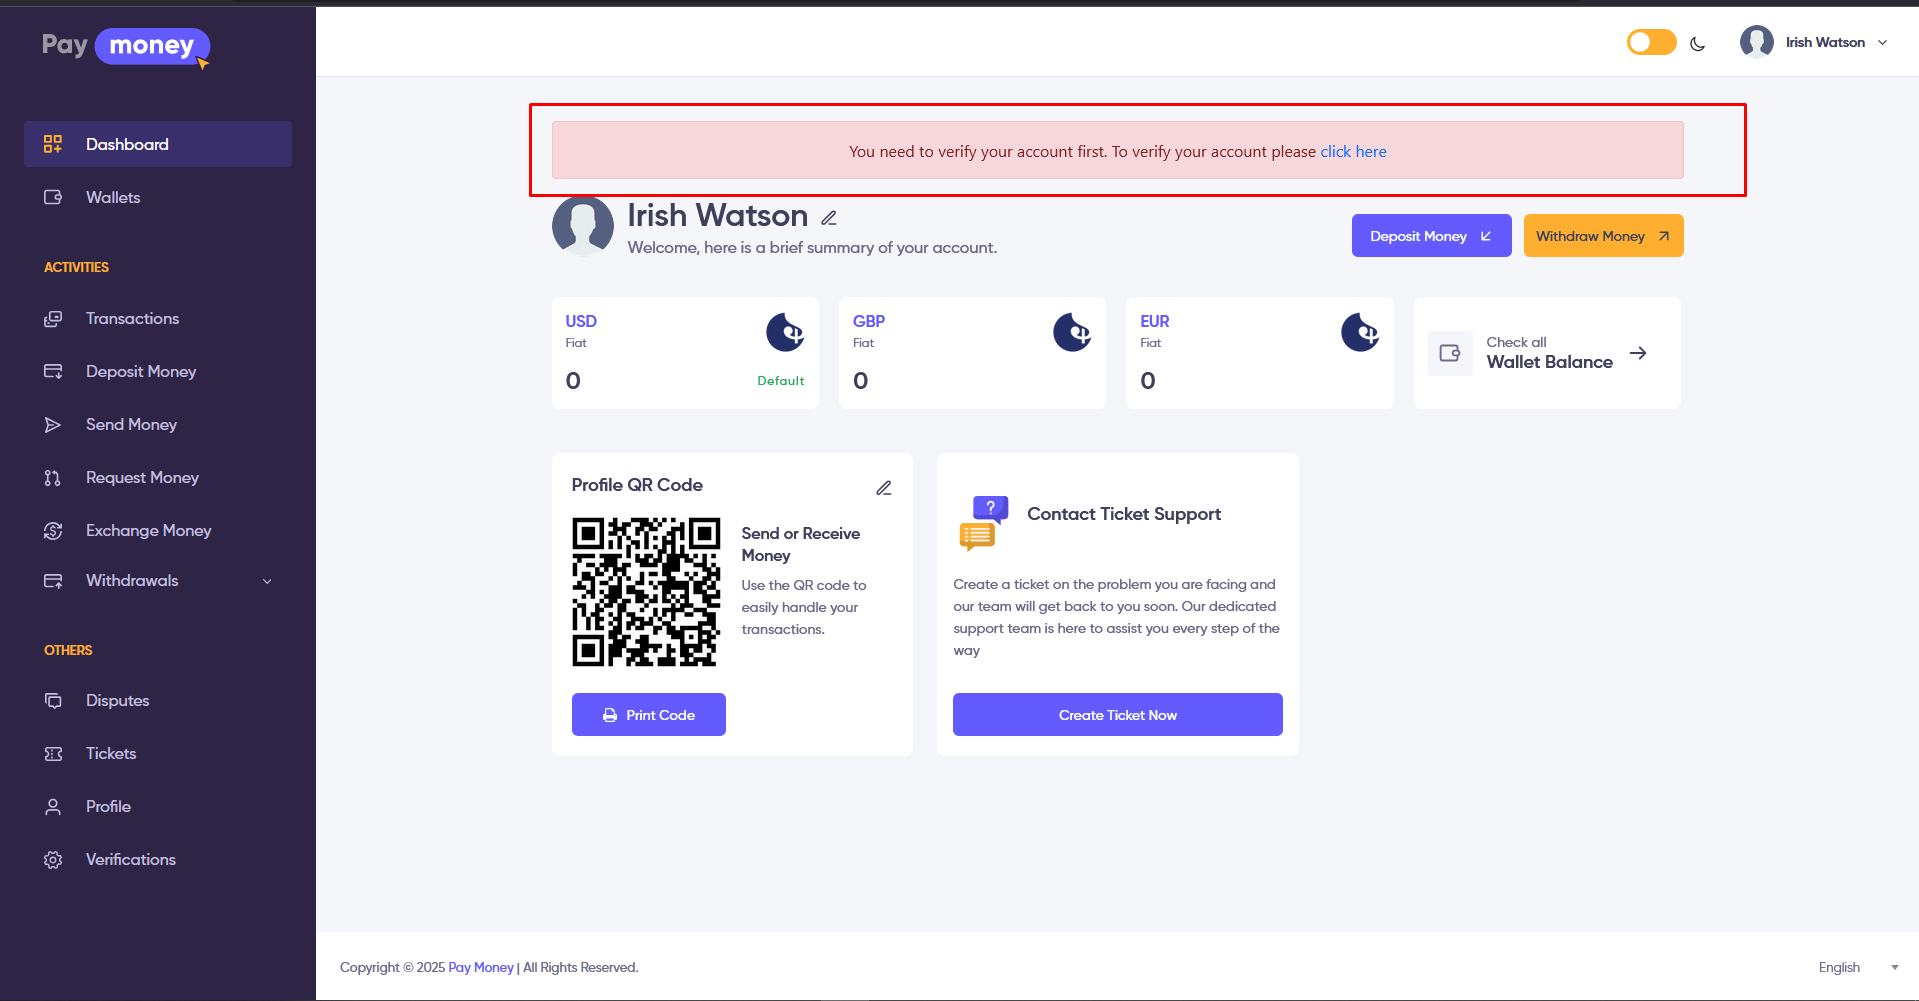
1. Dashboard Notification: If KYC verification is required, the user will receive a notification on their dashboard in the user panel, prompting them to complete the process. Any previously completed manual verification will be considered void, and the user must verify their KYC through Amlbot. Until the Amlbot verification is completed, the user will be restricted from conducting transactions, and the notification will continue to appear on the dashboard.
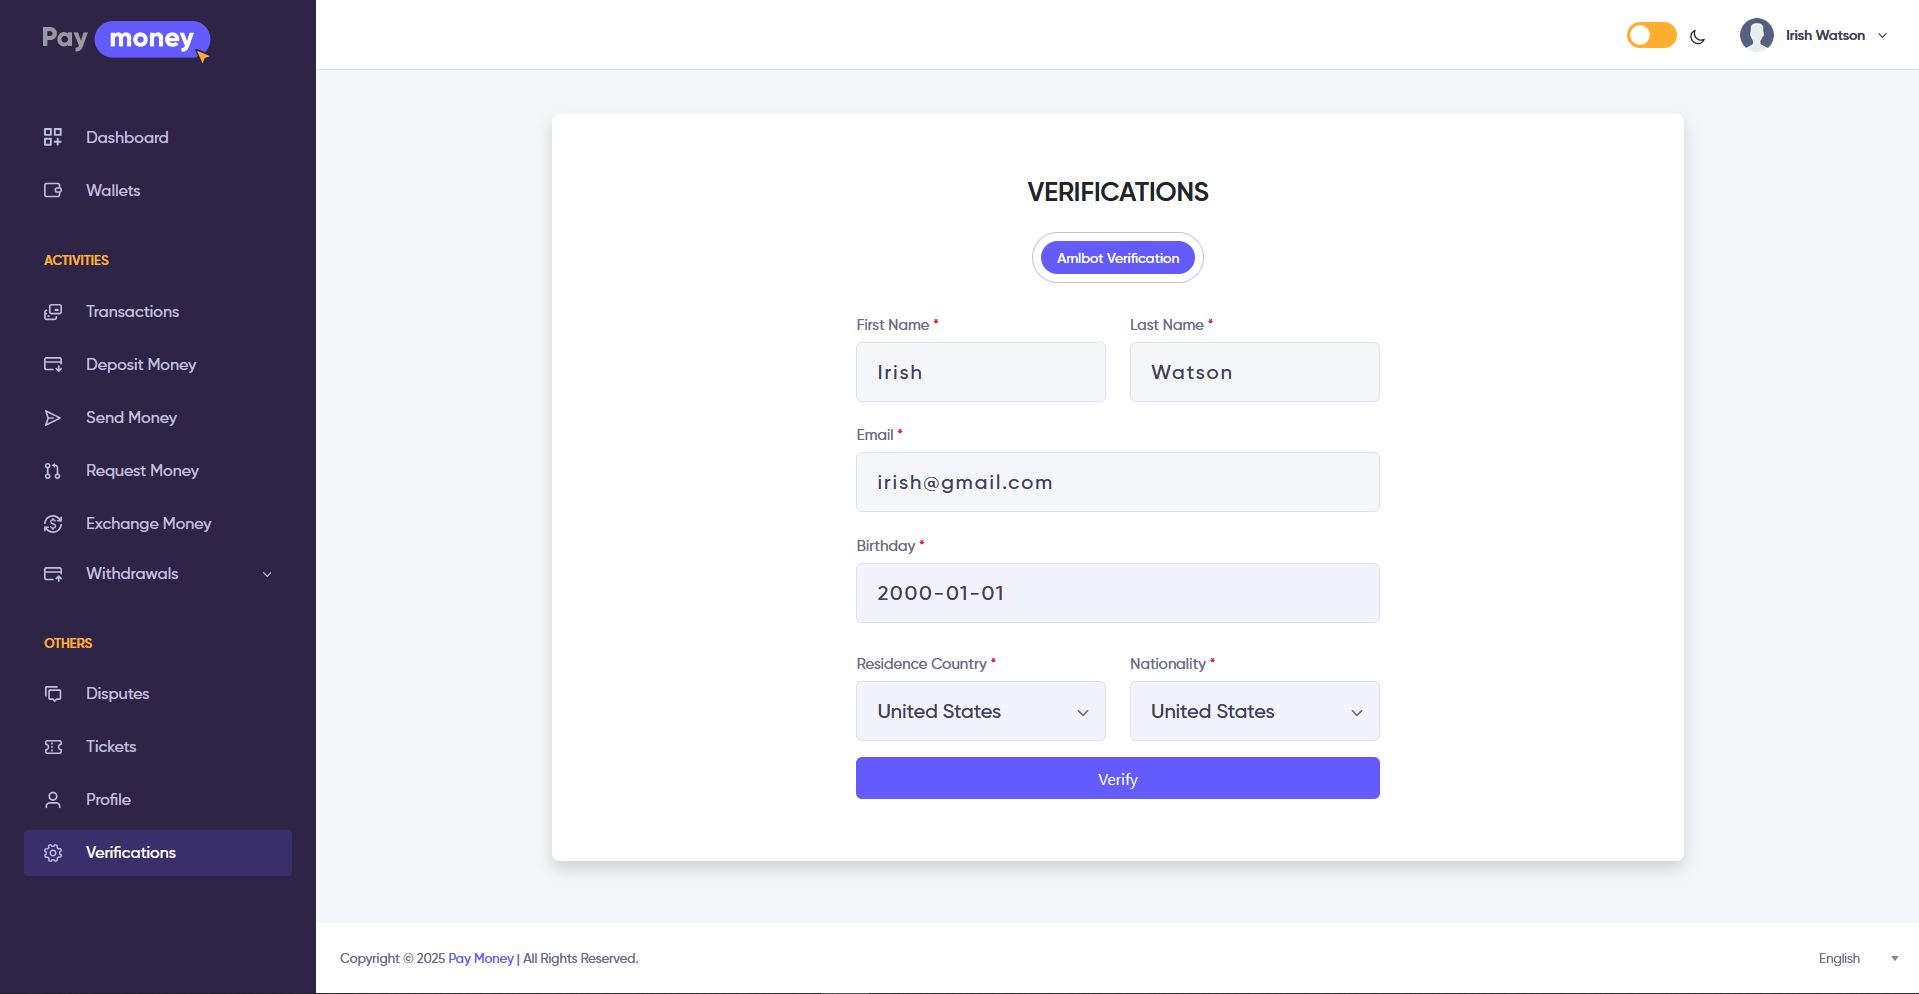
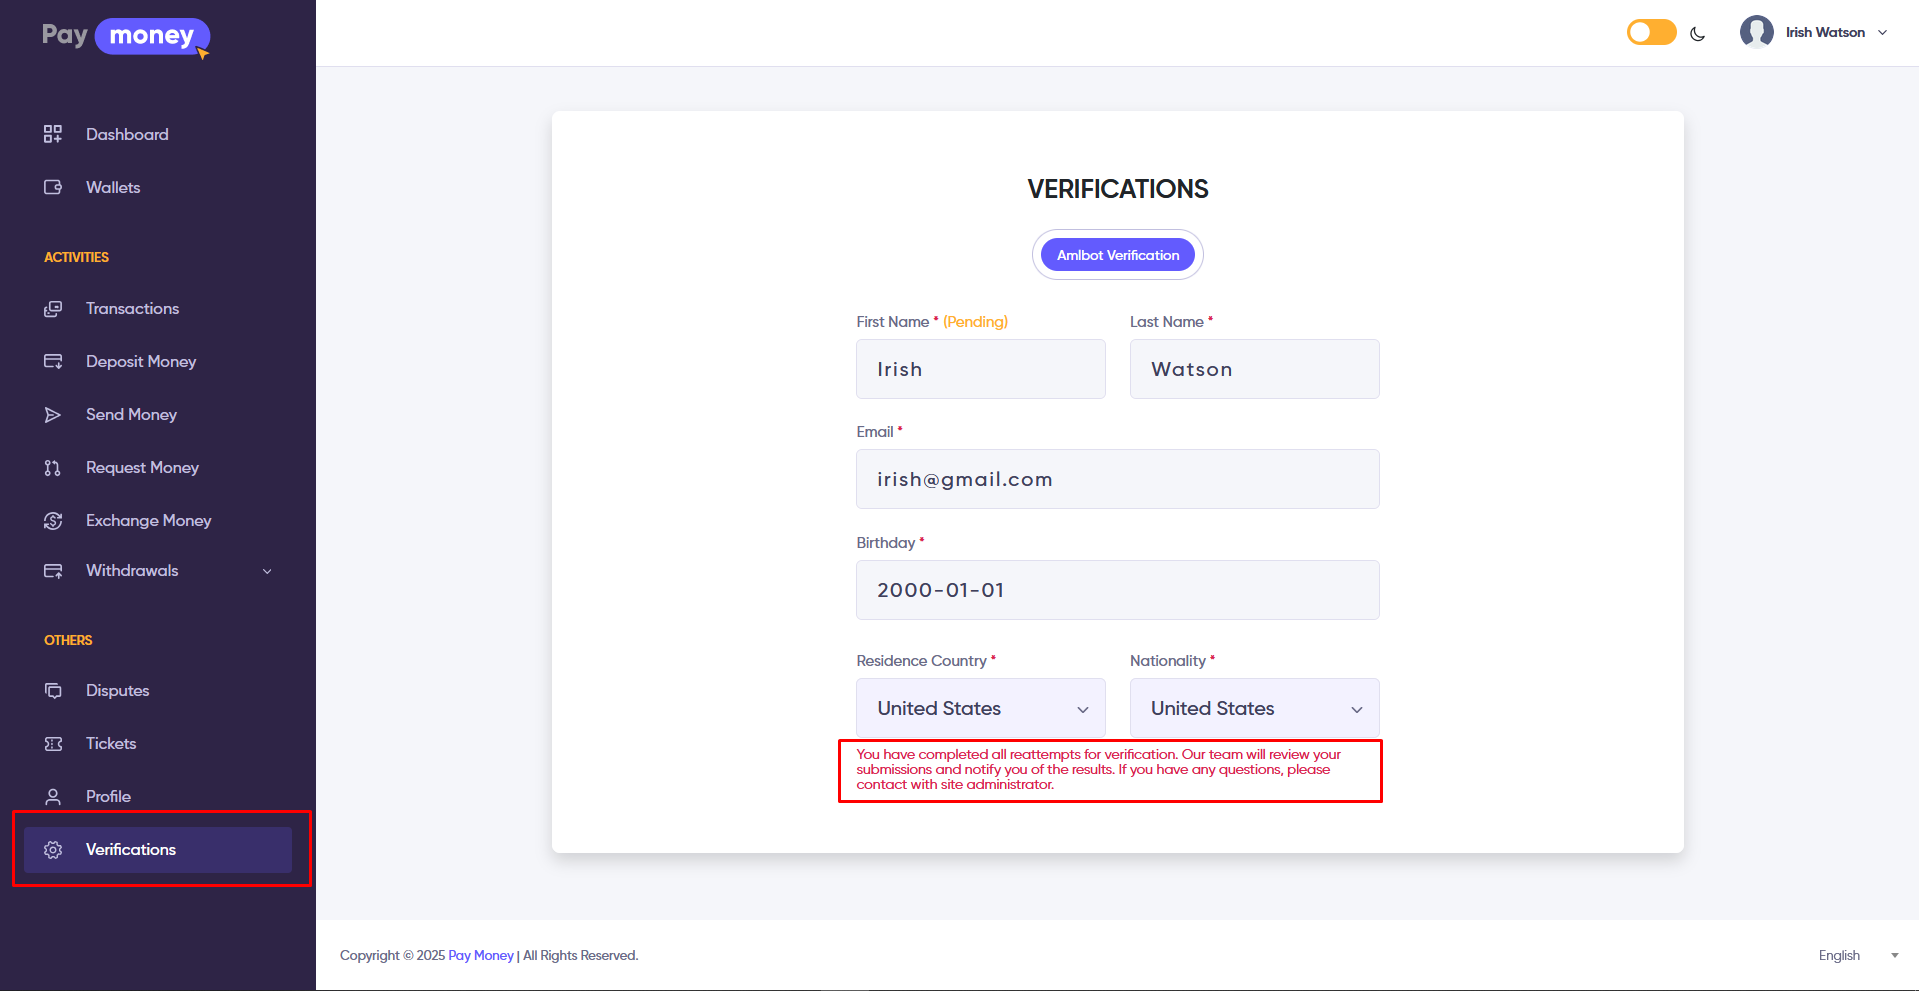
2. Amlbot Verification: To request Amlbot verification, navigate to the Verification section. You will be redirected to the Amlbot verification page.
-
First Name: The user's first name, is automatically retrieved from the first name field in their profile.
-
Last Name: The user's last name, is automatically retrieved from the last name field in their profile.
-
Email: The user's email address, is automatically retrieved from the email field in their profile.
-
Birthday: The user's date of birth, which must be provided by the user.
-
Residence Country: The name of the country where the user currently resides, which must be provided.
-
Nationality: The user's nationality, which will be set to the default country based on the user's profile, but can be changed if necessary.
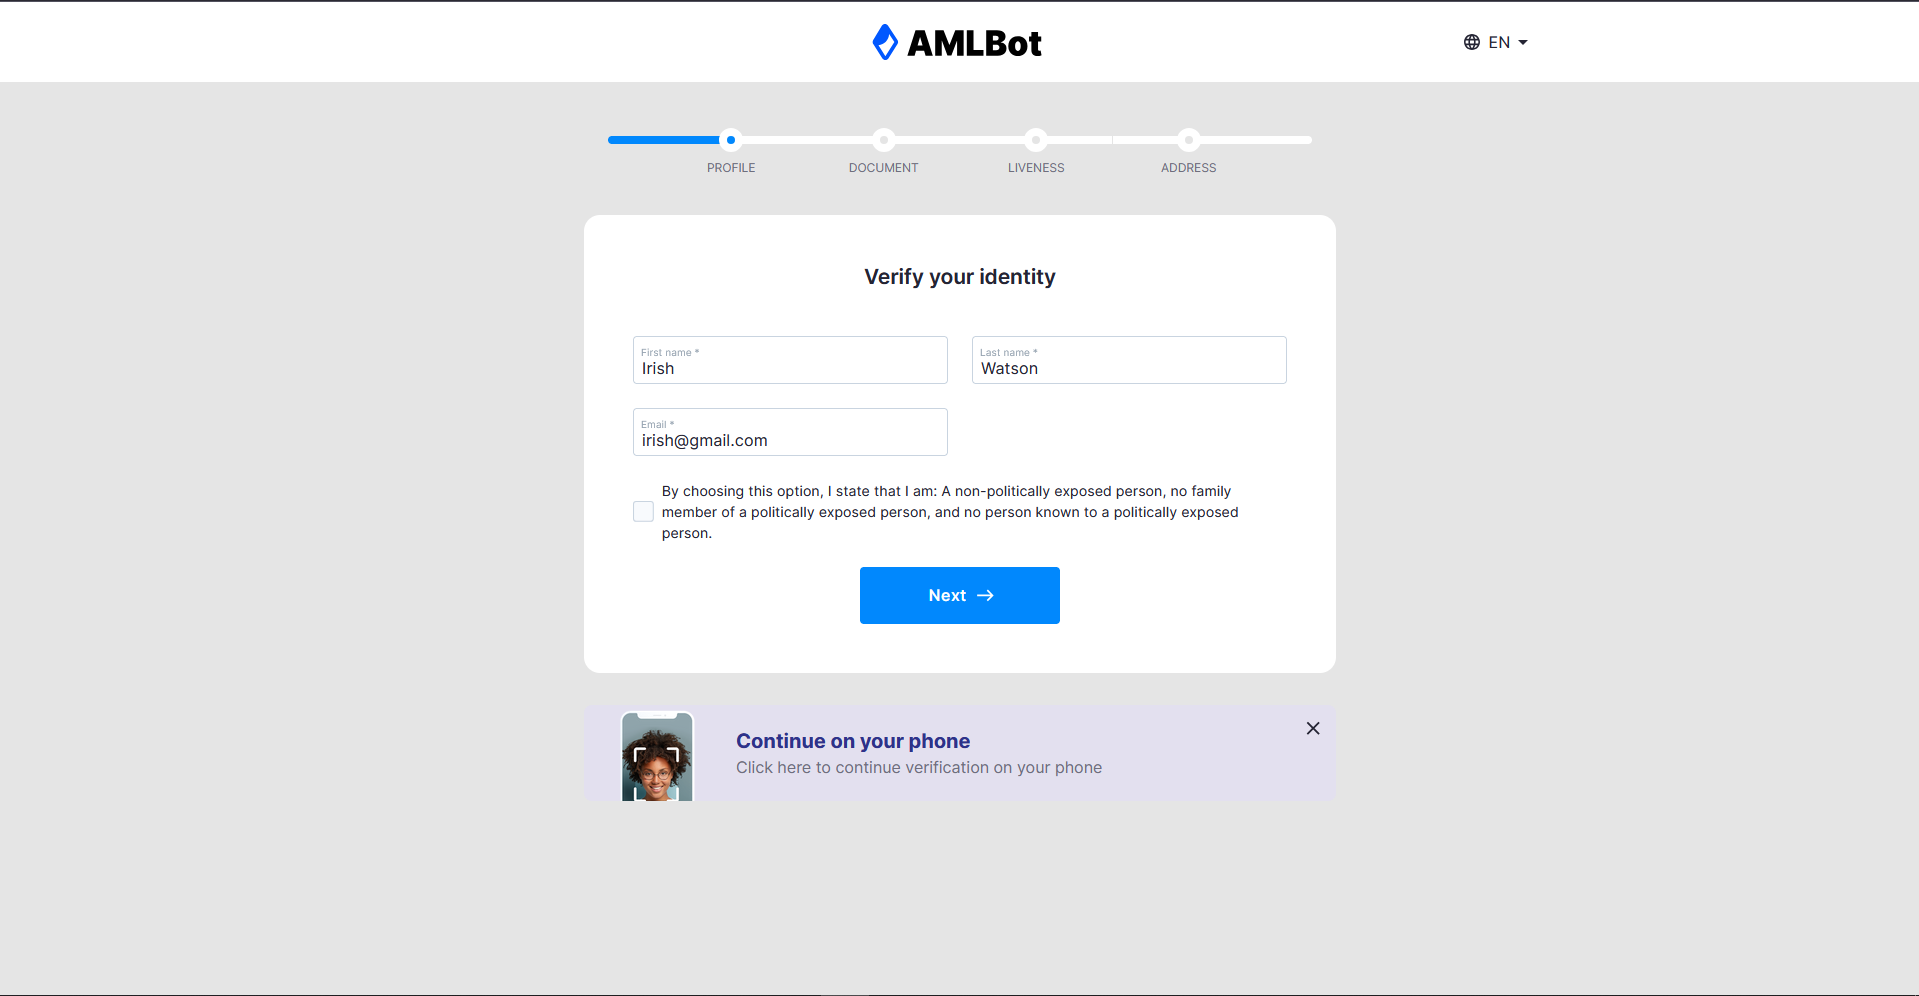
After the user submits this information, they will be redirected to the Amlbot website to complete their verification.
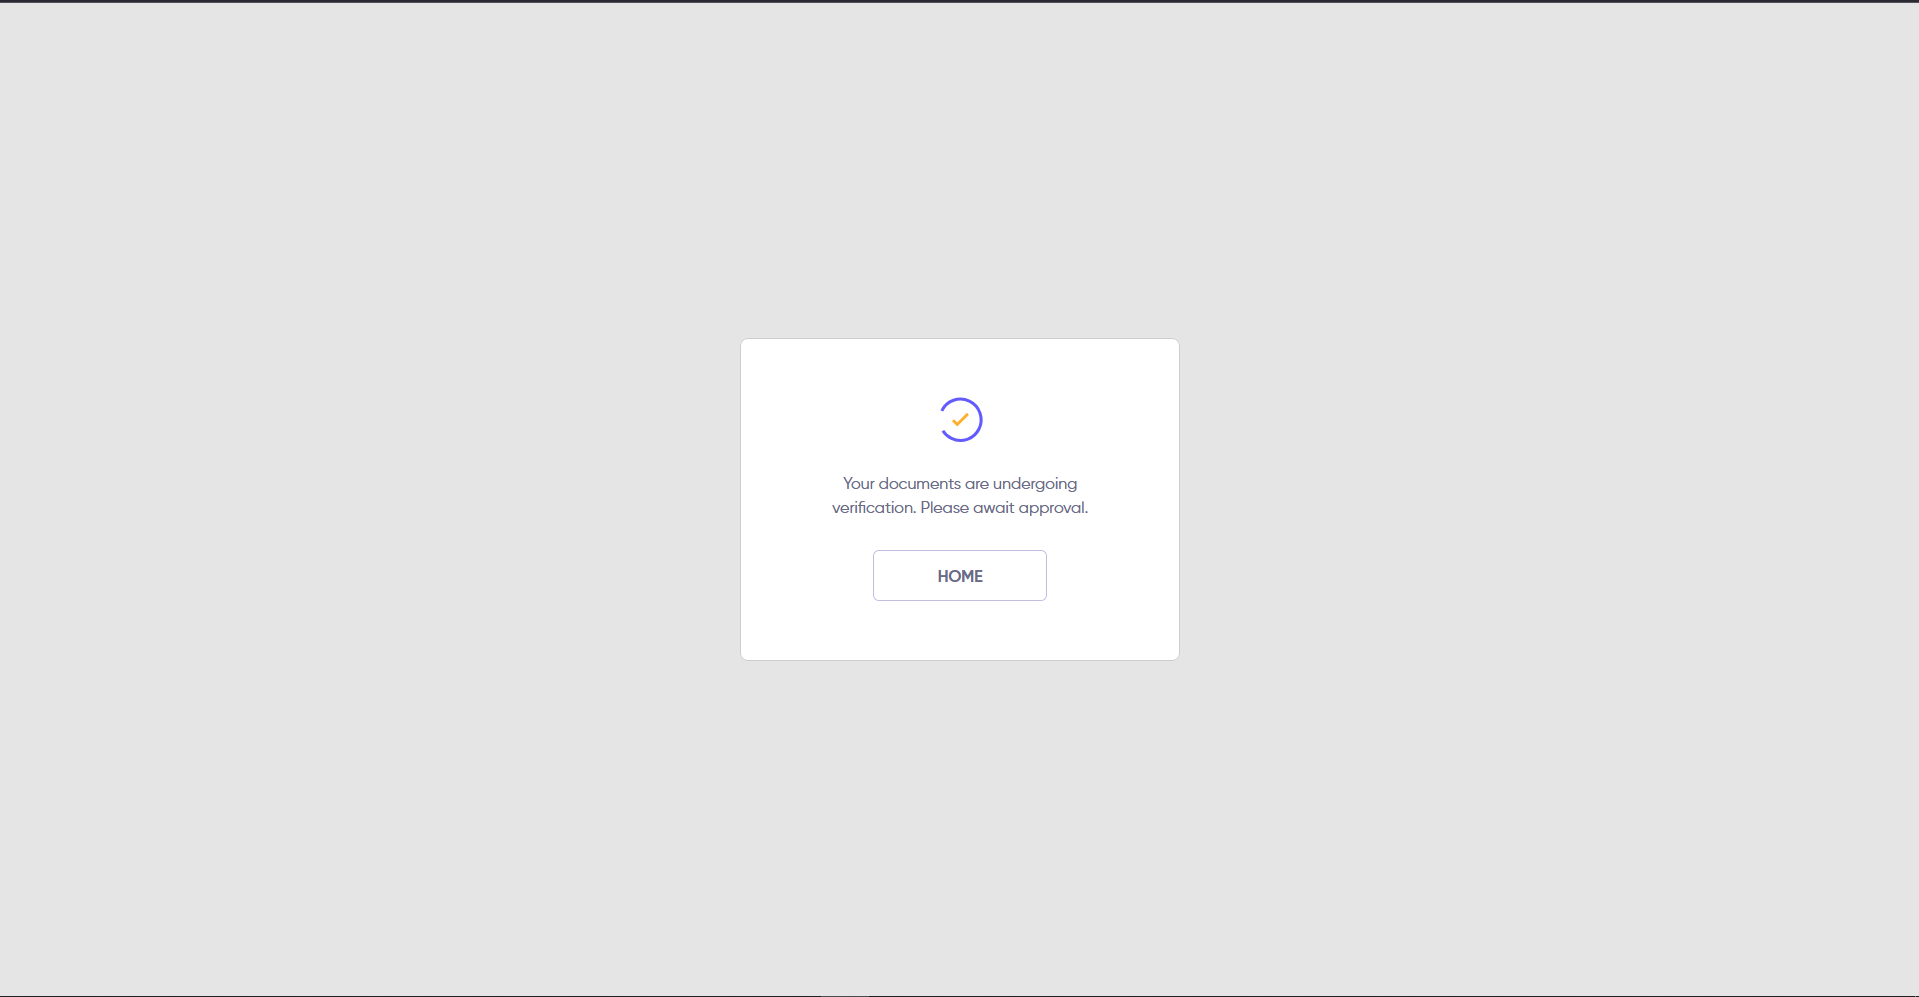
Once the user completes their verification on the Amlbot website, they will be redirected to the system verification success page.
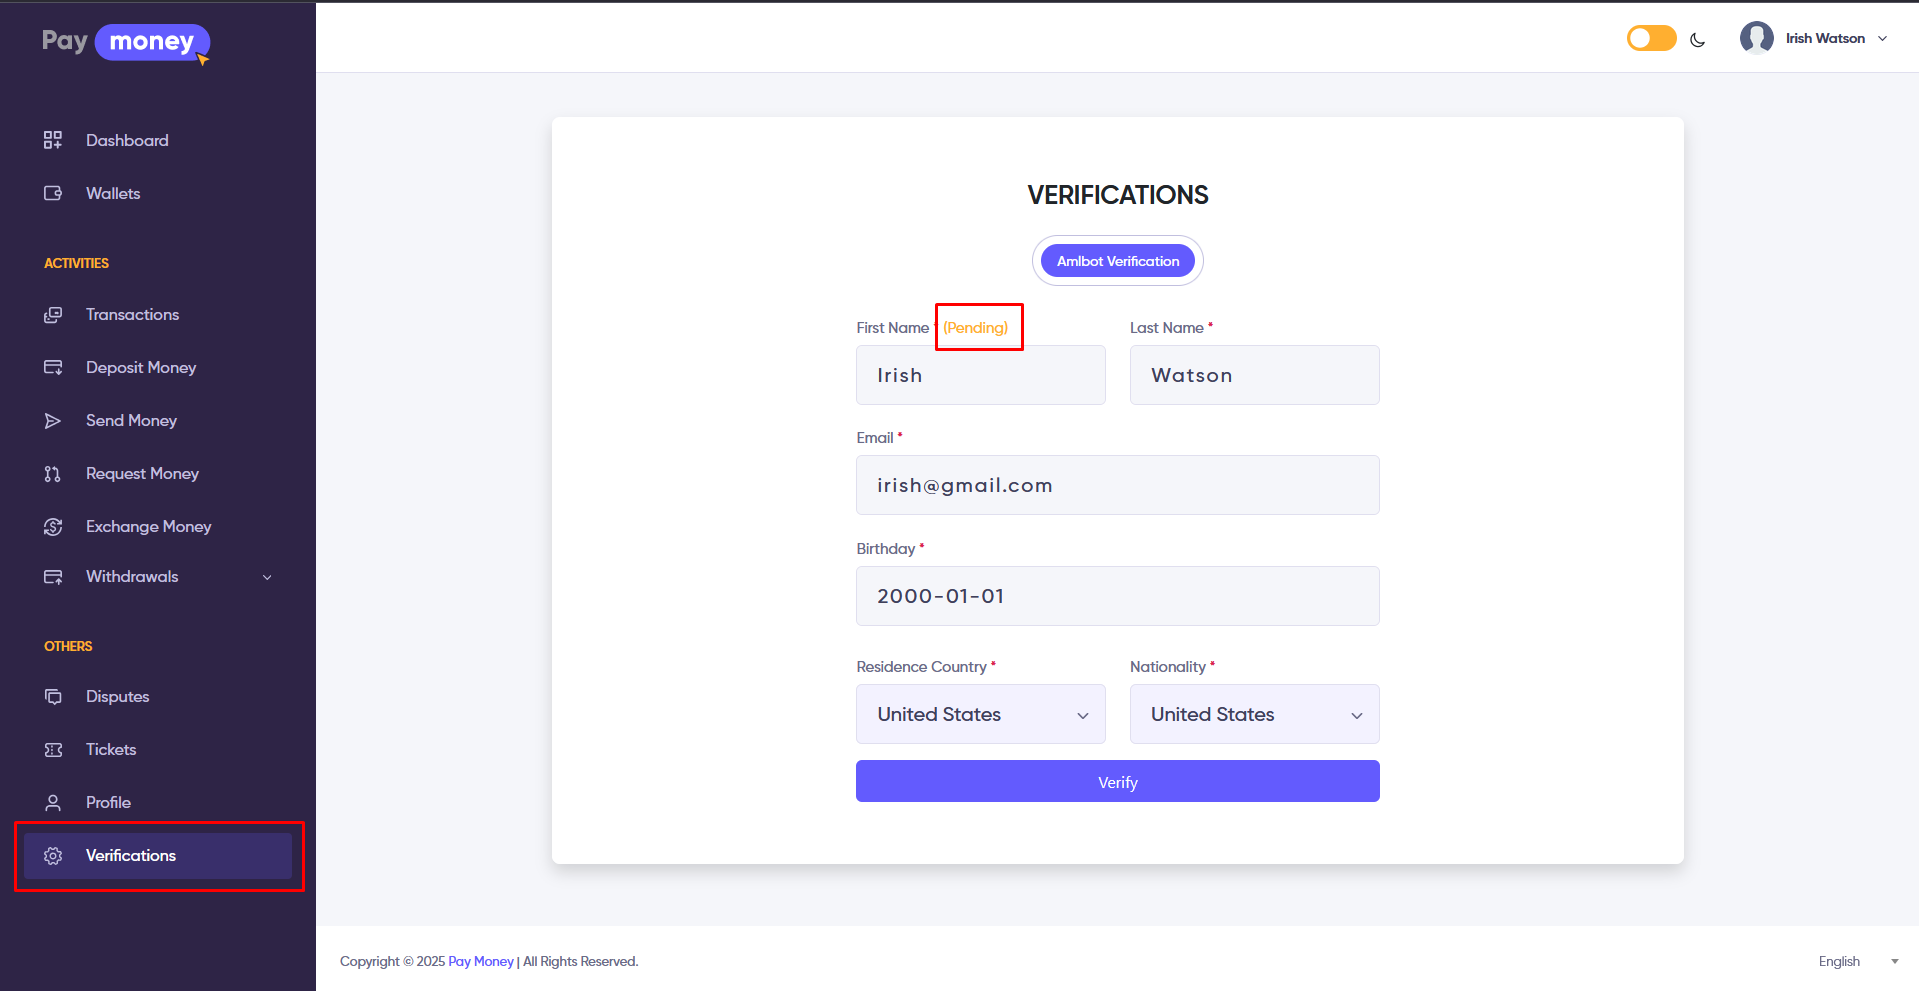
Initially, the verification status will be set to Pending, and the user can view this status on the Amlbot verification page. The status will be updated via the CRON job, or the admin can manually update it from the admin panel.
3. Amlbot Verification Retry: If the verification fails or is rejected, the user can attempt to resubmit their verification. However, there is a limit to the number of retry attempts allowed. Once the limit is reached, the Verify button will be removed, and a message will be displayed to the user.
Cron Jobs Set Up
The admin needs to set up a cron job to check the Amlbot verification status. Follow the steps below to configure the cron job.
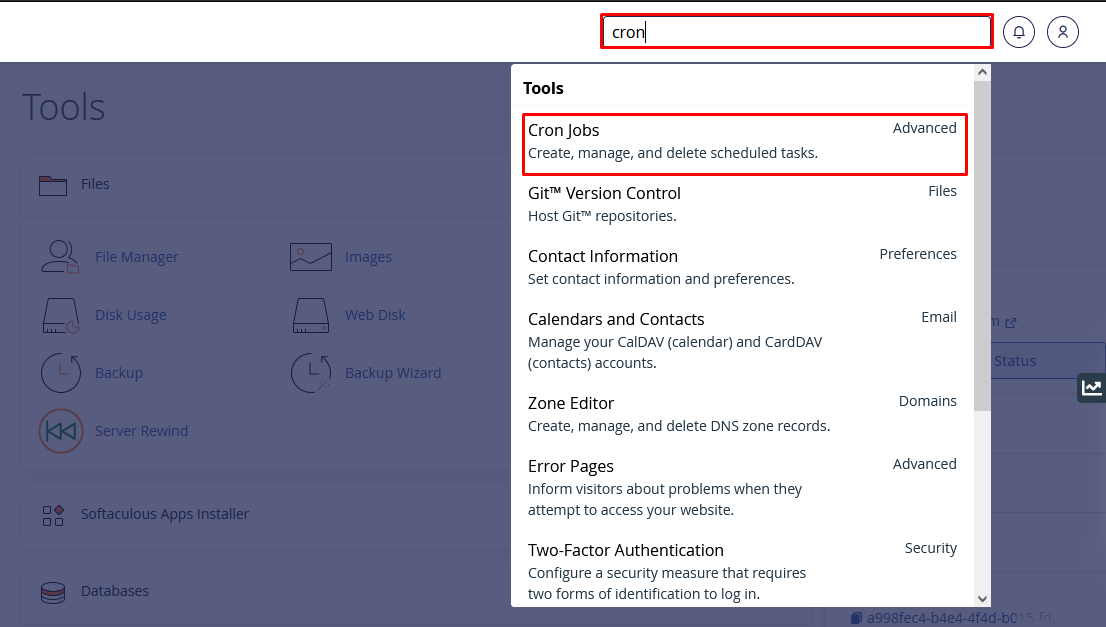
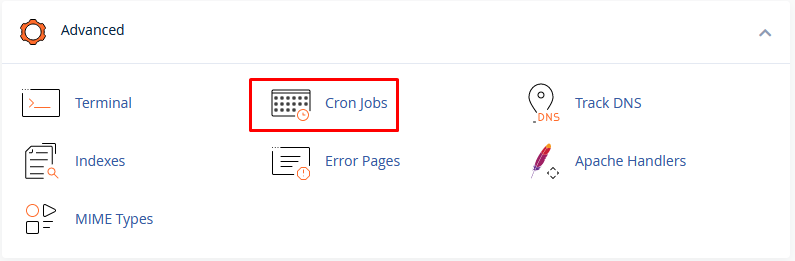
1. STEP-1 - Login into your cPanel and search for Cron Jobs. You can find Cron Jobs in the advanced section of your cPanel dashboard page.
2. STEP-2
-
Go to your Cron Jobs option and set up the Cron Jobs settings. Our suggestion is you should initiate Cron Jobs once every hour.
-
Cron Jobs URL:
curl https://yourdomainname/amlbot/process-webhook-verification -
You should replace
yourdomainnametext with your actual domain name likehttps://paymoney.com
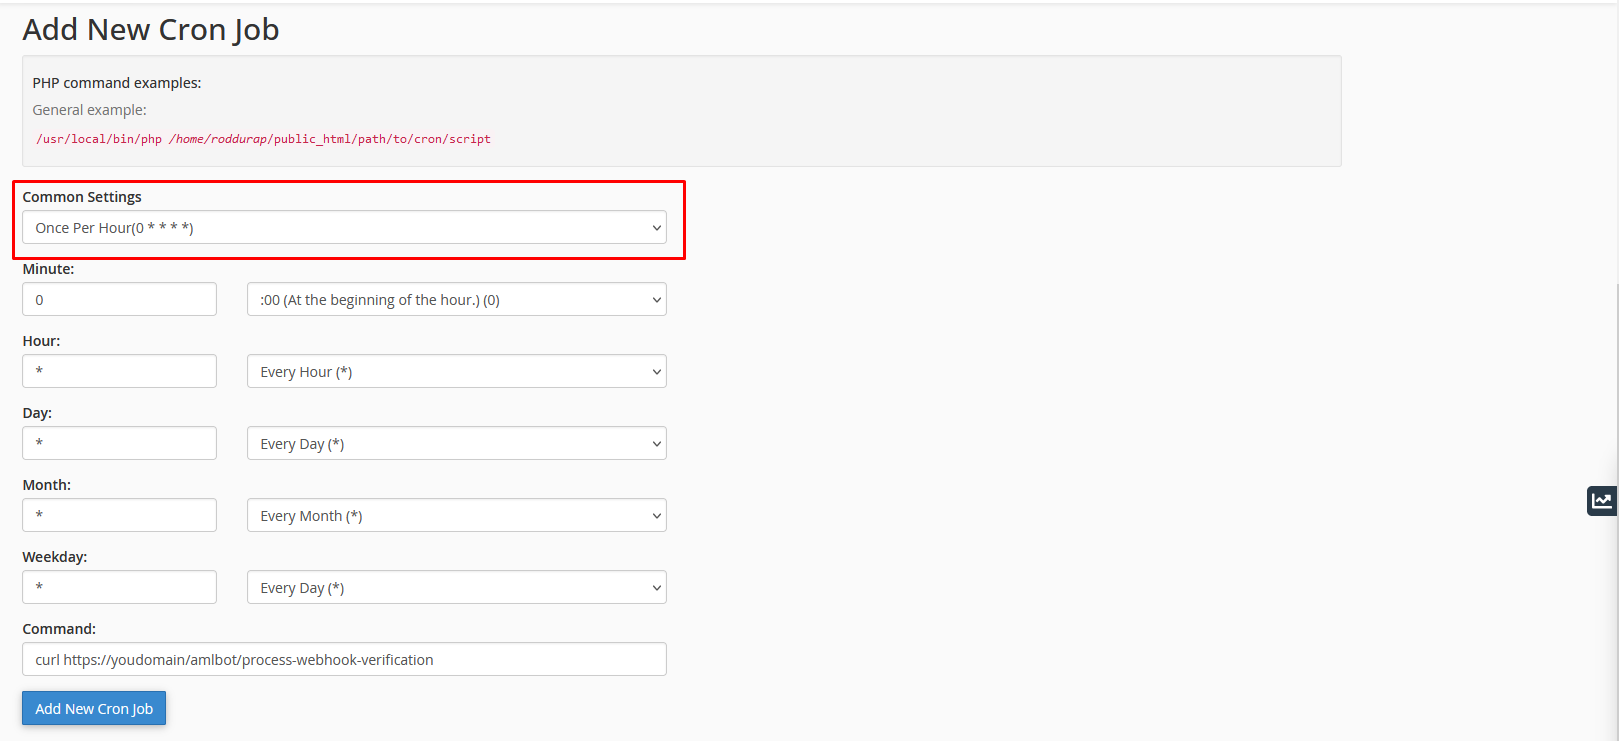
3. STEP-3
- Click on the Add New Cron Job. You will see your currently added Cron Jobs setting on your cPanel Current Cron Jobs list as you see in this image

If you have done the setting as described in this documentation, your Cron Jobs setup is ready and all the Amlbot verification statuses will be updated automatically.