React Native Project Setup and Build (APK/AAB)
Paymoney React Native App
React Native Project Setup
Follow these guidelines to generate the APK file
- Initially, extract the sourcecode_v1.zip file.
-
If you want, you can change your app name, app version and applicationId.
- For changing the app name go to
projectName\android\app\src\main\res\values\strings.xml.

- To change the applicationId.
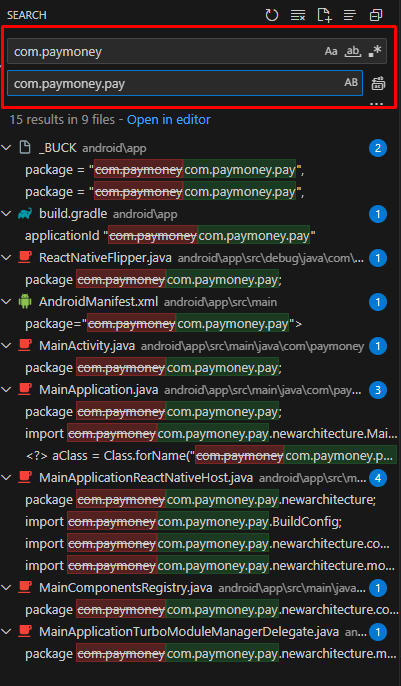
- Search “com.paymoney” in our search bar in any code editor and replace “com.company.com”
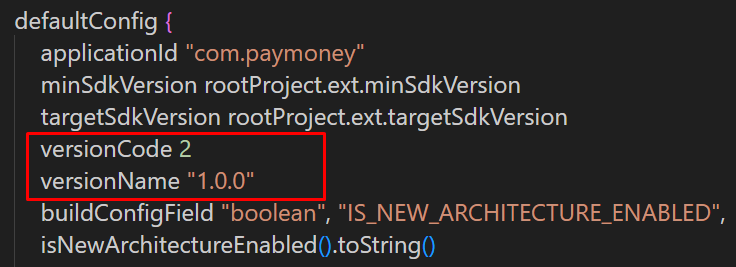
- Go to projectFolder\android\app\build.gradle Search “versionName” and change the app version like versionName=”1.0.2”. and change versionCode (version code must be a number like=3)
- For changing the app name go to
-
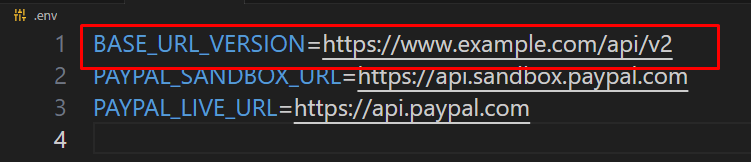
Go to the “.env” file in the project root folder.
- Set the base URL using BASE_URL_VERISON = your_web_live_url/api/v2 (https://demo.paymoney.techvill.net/api/v2)
-
To customize the app icon which you want to launch into your device please create an icon with 1024*1024 size and convert it from the following website. ( Recommended File Type: png )
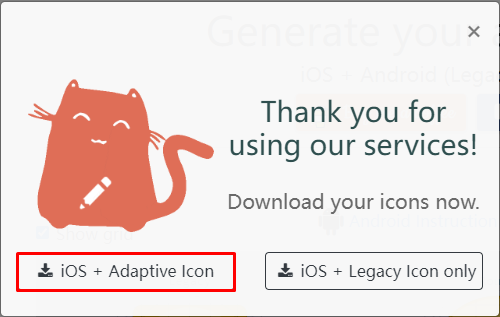
- Go to https://easyappicon.com
- Upload your resized image & download the file. (Make sure to download “iOS + Adaptive Icon”)
- Extract the downloaded zip file.
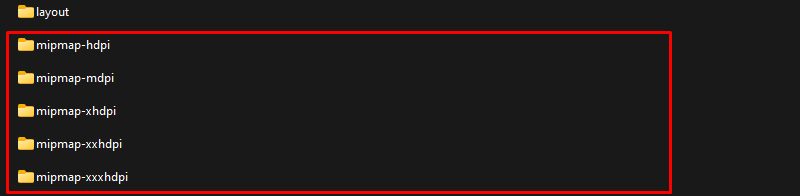
- Copy mipmap-**pi files under the “android” folder from the extracted folder.
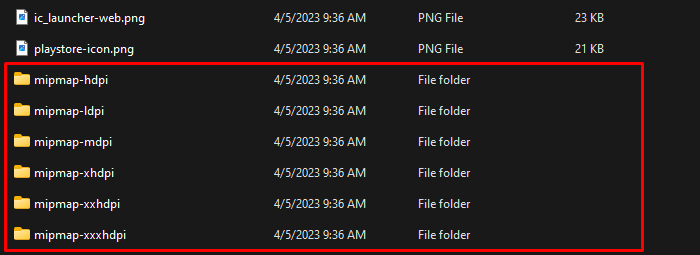
- Replace the mipmap-**pi files from the directory
projectName\android\app\src\main\res
-
To customize your app splash screen icon which you want to display in your app please create an icon with 240×240 dp size and convert it from the following website. ( Recommended File Type: png )
- Go to https://www.appicon.co/#image-sets
- Change your file name to “launch_screen”.
- Upload your resized image & download the file. **(Before upload must change your file name to “launch_screen”)
- Extract the downloaded zip file
- Copy drawable-**pi files under the “android” folder from the extracted folder
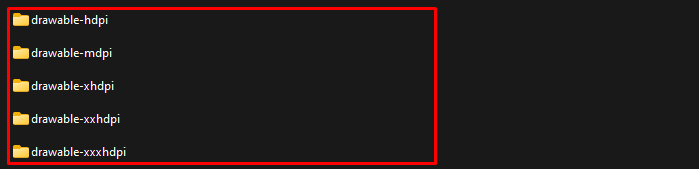
- Replace the drawable-**pi files from the directory projectName\android\app\src\main\res\drawable.
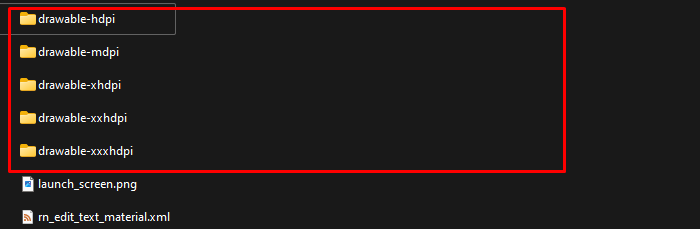
- Replace launch_screen.png to “drawable-xxxhdpi\launch_screen.png” file.

-
If you want to change the app icon please go to projectName\src\assets\image\logo and replace your logo with “dark_logo.png” (For dark mode) and “light_logo.png” (For light mode) ( Recommended Dimension: 160px * 40px, Recommended File Type: png ).

-
Setting up the development environment for React Native –
- You will need Node, the React Native command line interface and JDK
- Install nodeJs, for installing the nodeJs properly, follow these guideline. (Our recommended nodeJs version 18 or higher)
- Open the terminal on the project folder & run the following command lines for installing all dependencies npm install or yarn install. (For installing yarn follow this guideline) Jdk environment variables must be set up and installed on your machine including React native framework. To set up the react native environment properly please follow these guidelines.
-
Run the application on the Android simulator-
- Must be setup in android studio. (Properly setup android studio following this guideline. **This application uses React Native Cli version) - If your machine has already react native environment setup you can easily run an application with one command line.
- Open the terminal on the project folder & run the following command line
- npm run android or yarn run android
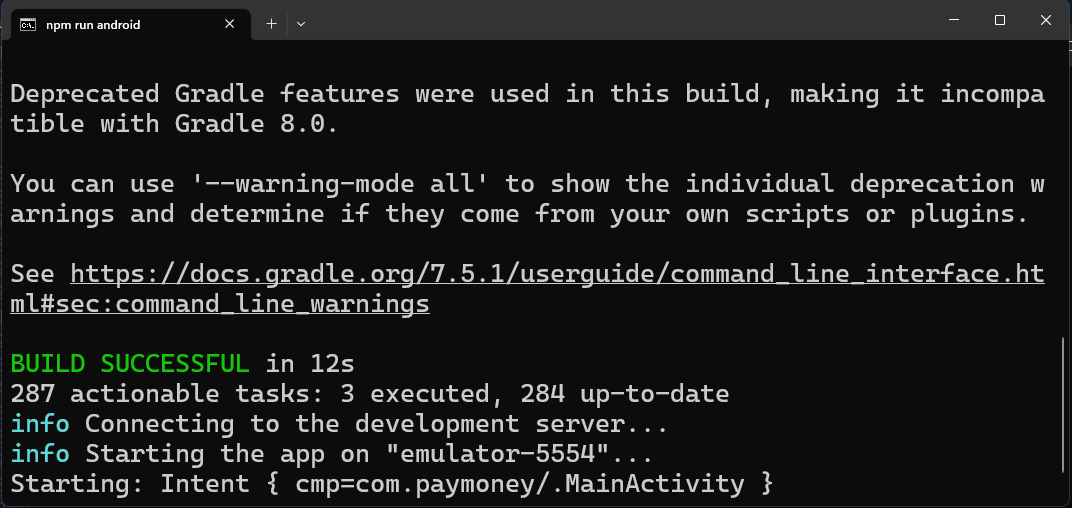
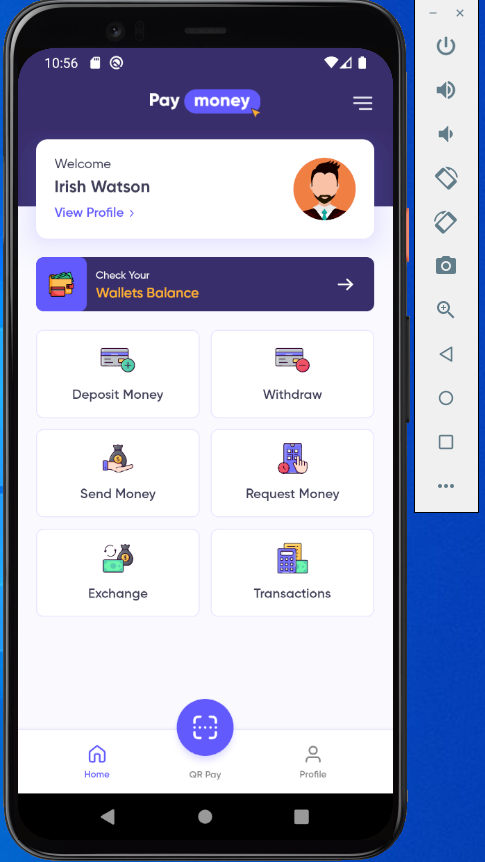
- Application run in your Android simulator
-
Generating an keystore before creating a release APK or AAB
- If your machine is already react native environment setup you can easily generate a release apk APK with the following few guidelines -
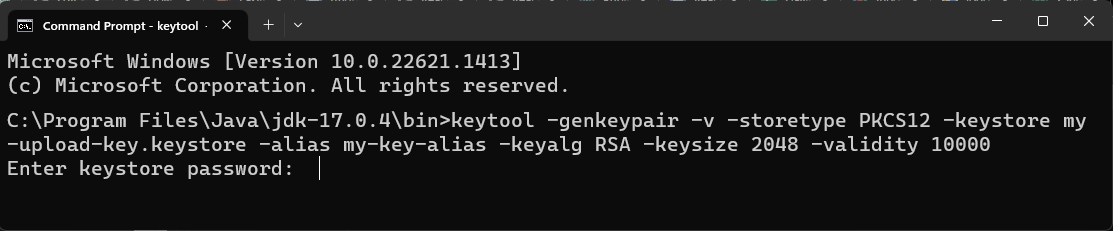
- You can generate a private signing key using keytool.
- For Windows On Windows, keytool must be run from
C:\Program Files\Java\jdkx.x.x_x\bin, as administrator.keytool -genkeypair -v -storetype PKCS12 -keystore keystore.keystore -alias my-key-alias -keyalg RSA -keysize 2048 -validity 10000
-
Step 1:
- Keytool will ask for a keystore password. Enter the password and confirm the password in the screenshot below:
-
Step 2:
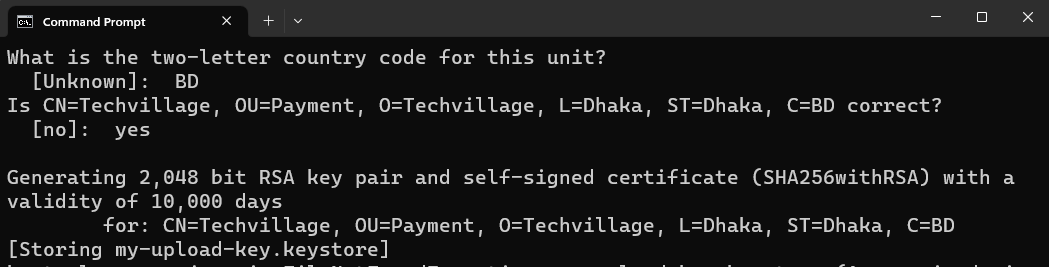
- Next, keytool will ask for additional information. Supply appropriately like the screenshot below:
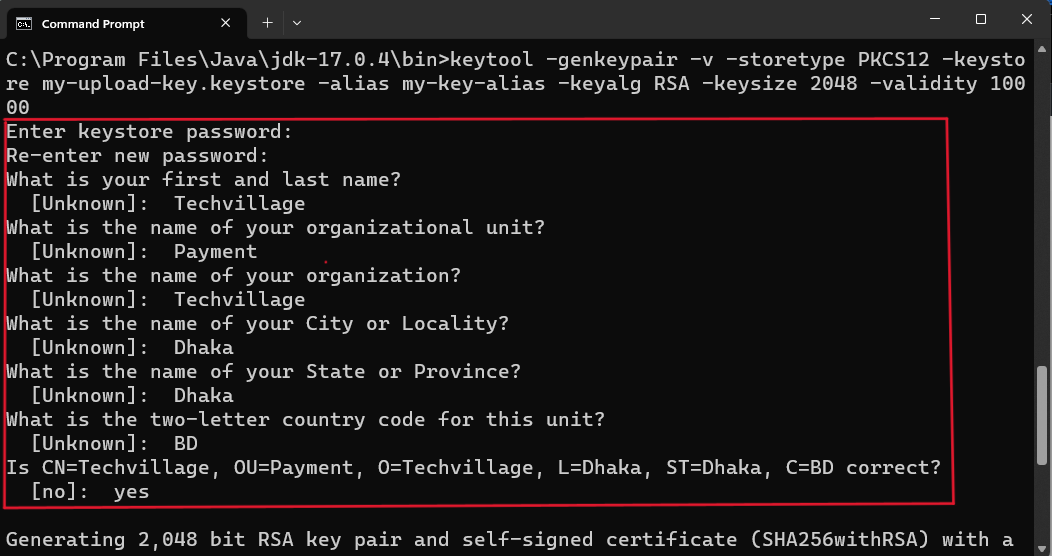
- This command prompts you for passwords for the keystore and key and for the Distinguished Name fields for your key. It then generates the keystore as a file called keystore.keystore. (Please securely store your keystore file, keystore password and alias password for future version updates.)
-
Setting up Gradle variables
-
Place the keystore.keystore file under the
~/android/appdirectory in your project folder. Edit the file~/.gradle/gradle.propertiesorandroid/gradle.properties, and add the following (replace * with the correct keystore password, alias and key password)MYAPP_UPLOAD_STORE_PASSWORD = *** (Place Store Password) MYAPP_UPLOAD_KEY_PASSWORD = *** (Place Key Password)

-
-
Search buildTypes then change signingConfig
signingConfigs.debugto signingConfigsigningConfigs.release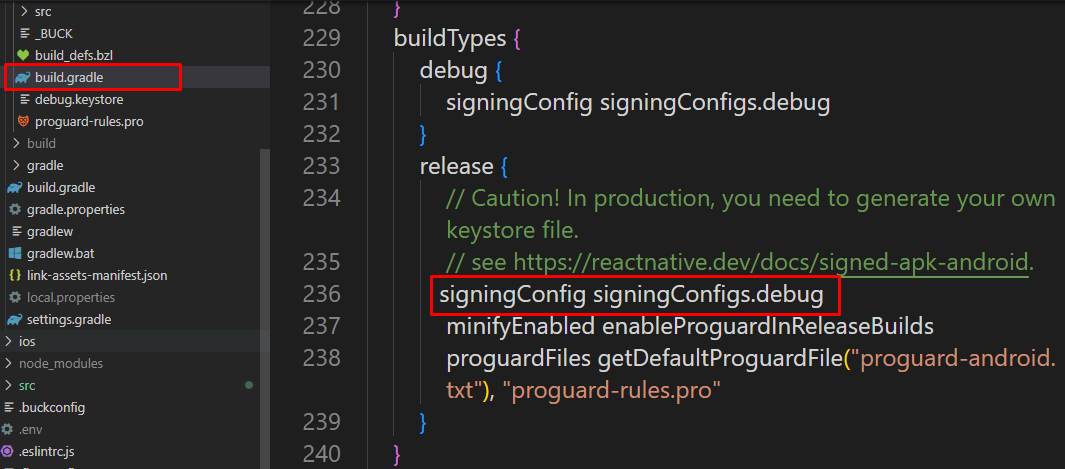
- If your machine is already react native environment setup you can easily generate a release apk APK with the following few guidelines -
React Native App Generate Release APK for Android
Generate Release APK
-
Open the terminal on the project folder & run the following command line one by one
npx react-native bundle --platform android --dev false --entry-file index.js --bundle-output android/app/src/main/assets/index.android.bundle --assets-dest android/app/src/main/res
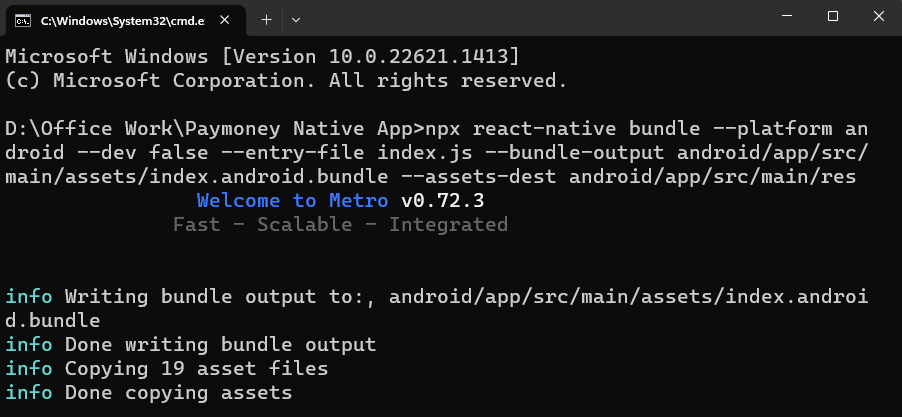
cd androidgradlew assembleRelease
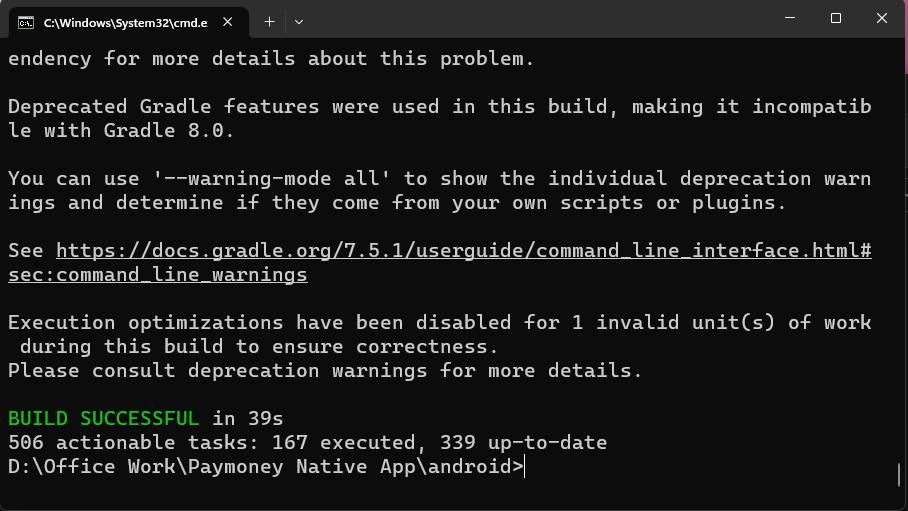
If all the commands successfully run you will see the apk file on
\android\app\build\outputs\apk\release\app-release.apk
Now you can install the generated APK to your android phone.
After complete generate release APK them clean your gradle file using this command
gradlew clean
React Native App Generate Release AAB for Android
Generate Release AAB for upload Play Store
-
Open the terminal on the project folder & run the following command line one by one
npx react-native bundle --platform android --dev false --entry-file index.js --bundle-output android/app/src/main/assets/index.android.bundle --assets-dest android/app/src/main/res
cd androidgradlew bundleRelease
If all the commands successfully run you will see the apk file on
\android\app\build\outputs\bundle\release\app-release.aab
Before uploading the application change the application name “app-release.aab” to “yourProjectName.aab” like Paymoney.aab.
After completing generate release AAB then clean your gradle file using this command
gradlew clean
Generate Release (APK/AAB) using Android Studio
Set Up Your Android Production Environment
To properly setup android studio follow the guideline. **(This application uses React Native Cli)
-
Generate a Release APK using Android Studio
-
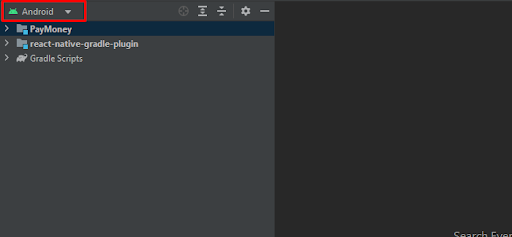
Open projectFolder/android in Android Studio –
-
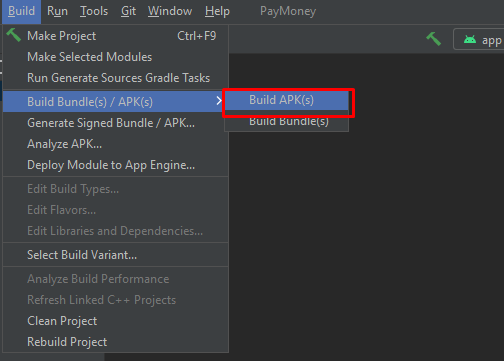
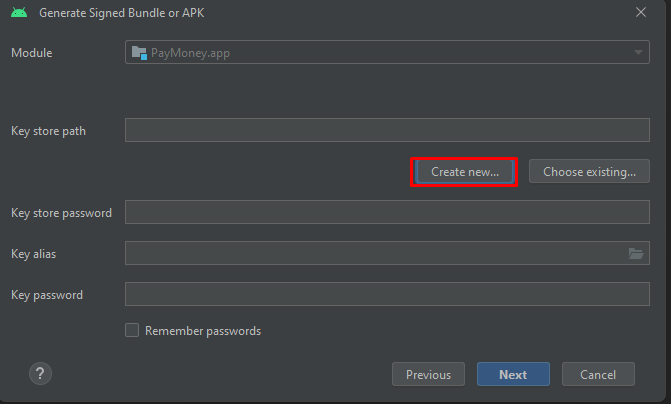
Navigate to the Build tab, then click on Generate signed bundle / APK
-
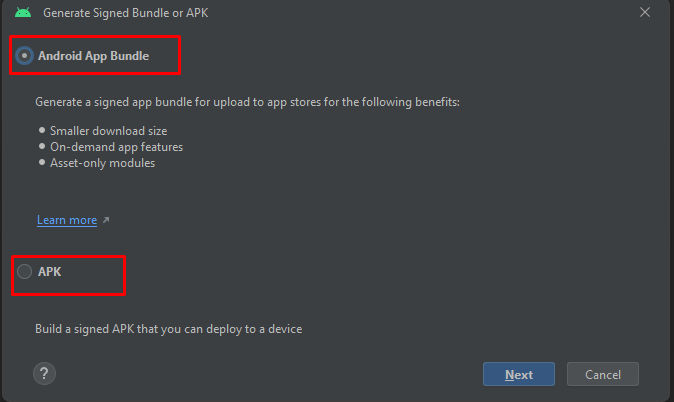
Select APK to generate a release APK or select Android App Bundle(AAB) to generate a release AAB (Play Store) for your React Native Android project. Then, Click on Next
-
Under the Key store path click Create new..
-
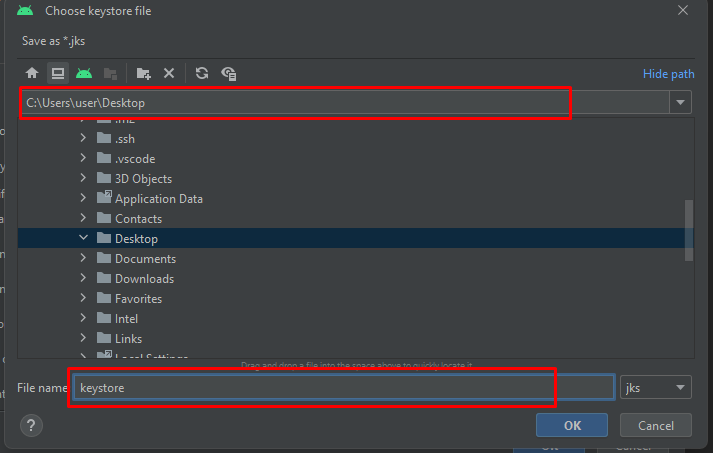
Pick a path like C:\Users\user\Desktop
-
Select passwords for the keystore and key and return the certificate information.
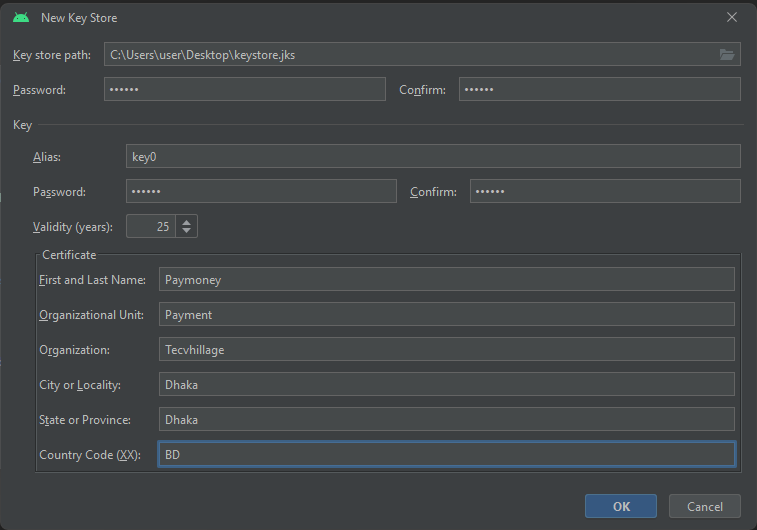
Please securely store your keystore file, keystore password and alias password for future version updates.
-
Click Next button

-
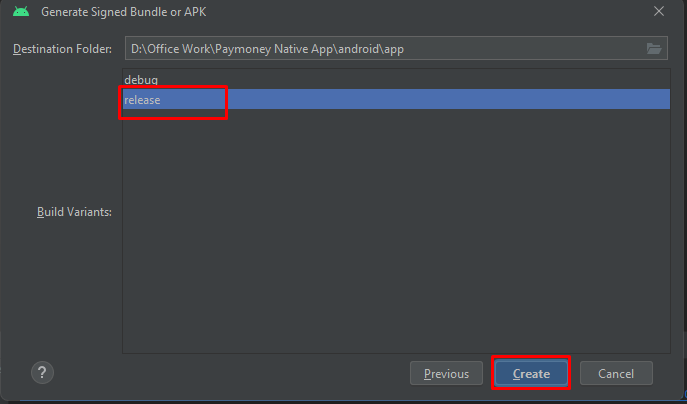
Thus, click on OK, then click on Next. Select release or debug and click Create.
-
After finish build
projectFolder/android/app/release/app-release.apk
-